How to Create and Update Table of Contents in Word 2013
Long documents can become difficult to navigate, which is why learning how to create and update table of contents in Word 2013 is so useful. Some academic reports actually require a table of contents. Luckily, Word 2013 has just the feature you are looking for. With this step-by-step guide, you can learn how to create and update table of contents in Word 2013 with unprecedented ease. Some people manually make table of contents in their documents, and while this might work sometimes, page numbers within the document tend to change and it is tedious to constantly update them, and it is not possible to overlook mistakes.
Step 1: Launch Word 2013
Step 2: Open the document in which you wish to insert a table of contents
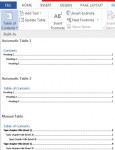
Step 3: Click on the Home tab
![]()
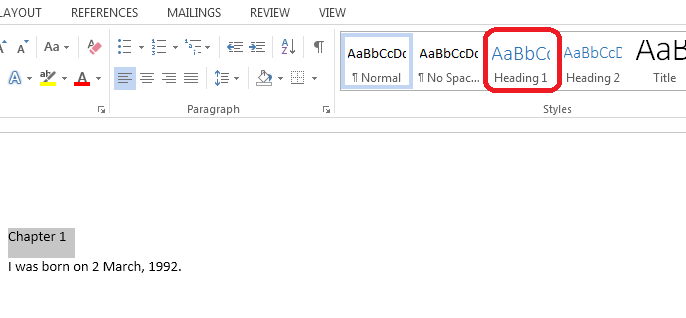
Step 4: Make sure all your headings are styled as headings so that the table of contents can pick it up later. In order to do this, highlight the first heading individually and select Headings in the Styles group. Repeat this step for all headings in your document.
Step 5: Select the References tab
![]()
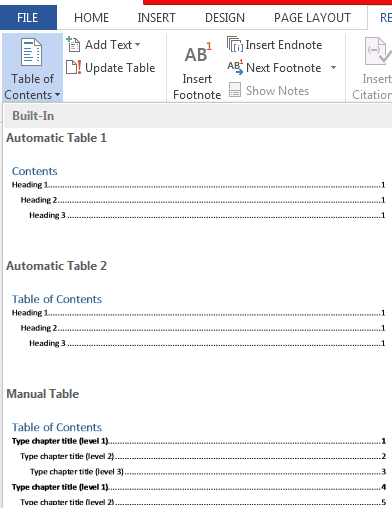
Step 6: Click on the Table of Contents button and select the most suitable format for your table of contents from the list
Step 7: If you want to update your table of contents to reflect changes in your document, all you need to do is highlight the entire table of contents and click Update Table….
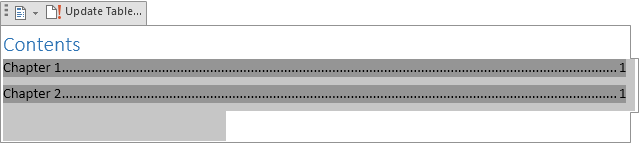
Step 8: Select Update entire table to add more headings into the page as well as update the page numbers, or select Update page numbers only to just make any necessary changes to the page numbers in the table of contents