How to Add Screenshots to your Document in Word 2013
Screenshots can be extremely useful, especially if you are writing down a tutorial or trying to seek help from somebody. However, capturing and adding screenshots to Word documents has not always been easy. Unlike with previous versions, you will not struggle with figuring out how to add screenshots to your document in Word 2013. This guide will walk you through everything you need to know so that you can learn how to add screenshots to your document in Word 2013.
Step 1: Launch Word 2013
Step 2: Open a document in which you wish to add a screenshot
Step 3: Click on the Insert tab
![]()
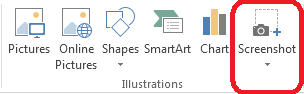
Step 4: Click on the Screenshots button in the Illustrations section
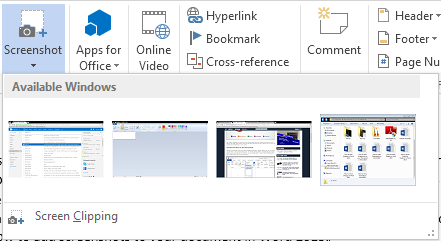
Step 5: Choose which of your open windows you wish to insert a screenshot of from the Available Windows drop-down menu. Once you click on it, it will be inserted into your document
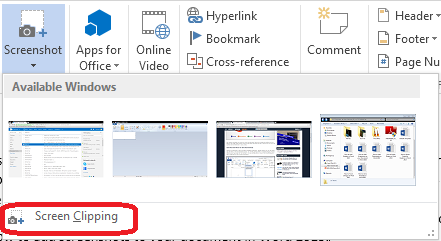
Step 6: If you do not want an entire window, select the Screen Clipping option to choose a certain part of a particular screen
Step 7: Drag the cross-shaped cursor to the part of the screenshot you wish to insert into your document