How to Create a Bibliography in Word 2013. Bibliographies are the heart of academic essays. If you have ever had to write a college paper, you have probably prepared a bibliography. Not many people are familiar with how to create a bibliography in Word 2013. You can pick a specific citation style depending on your personal needs. This step-by-step guide will walk you through the ins and outs of how to create a bibliography in Word 2013.
Step 1: Launch Word 2013
Step 2: Open a document in which you want to insert a bibliography
Step 3: Open the References Tab

Step 4: Choose your citation style. You can choose from various styles, including APA, Chicago, Harvard and MLA depending on your needs.
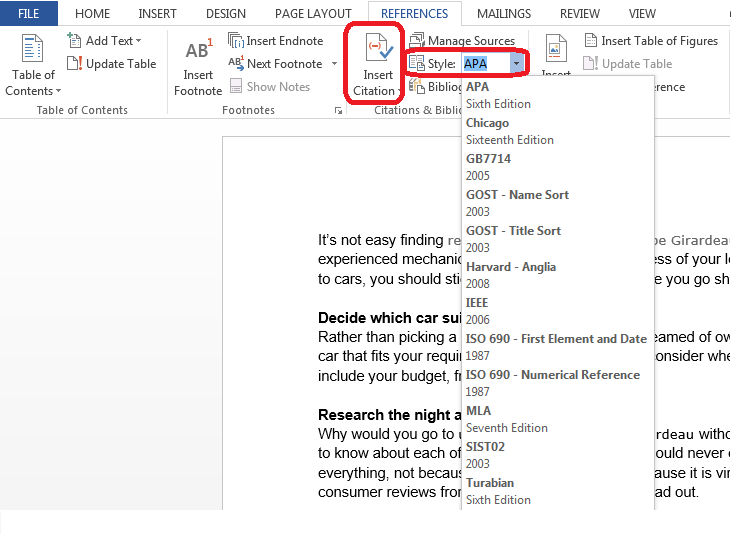
Step 5: Click on Insert Citation and then click on Add New Source
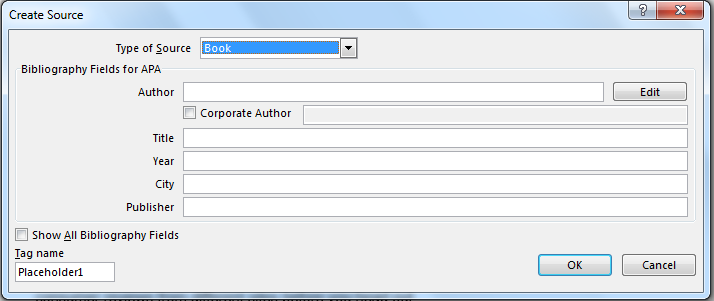
Step 6: Enter in the source details including the author’s name, title of the source, publisher’s name etc. and click OK. You can repeat this as many times as is needed until all your sources are entered.
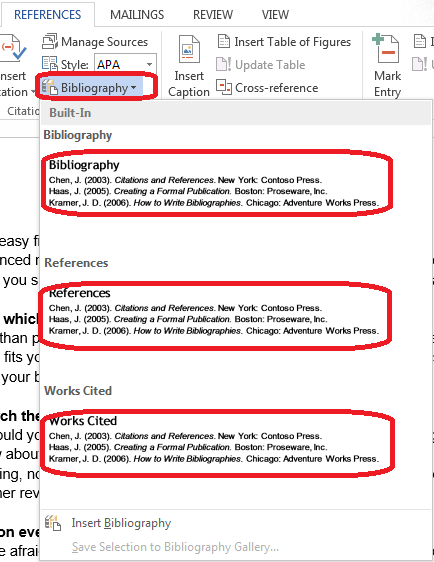
Step 7: Click on Bibliography under the References tab and select the format that suits your needs. Options include a Bibliography page, a Works Cited page and a References page. Make sure you choose in conjunction with the Citation Style you had chosen earlier. For example, MLA requires that you have a Works Cited page. Once you have chosen this option, your bibliography will be ready.
Step 8: Use the Manage Sources button to find any particular source and the Master List feature to find sources that you used in other documents.
