How to Design Motion Paths in PowerPoint 2013
Do you enjoy making really creative slideshows for presentations? Well, one great way to make your presentation stand out is to learn how to design motion paths in PowerPoint 2013. PowerPoint has a number of standard transitions that you can choose from, but what many ameteur users of the software do not know is that you can actually design your own motion paths for your slideshow. A motion path is a pre-made route your slideshow will go through when you play it. In this tutorial, we will teach you how to design motion paths in PowerPoint 2013.
Step 1: Launch PowerPoint 2013
Step 2: Open a PowerPoint file and select a blank layout from the Home tab
Step 3: Click on the Insert tab
![]()
Step 4: Place a shape from the Shape drop-down menu and place it onto the slide
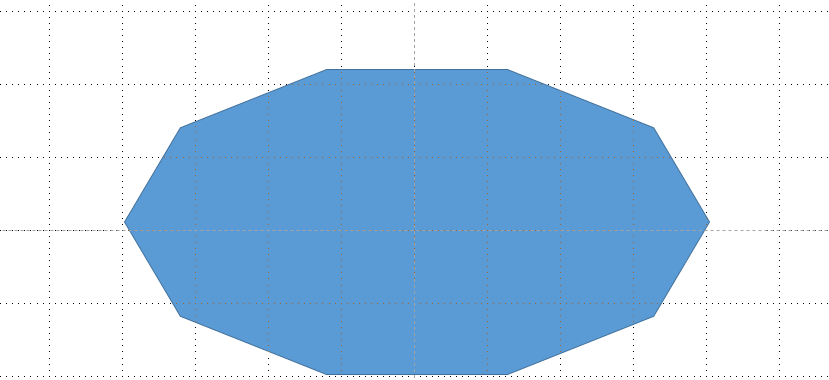
Step 5: Select the shape you just inserted
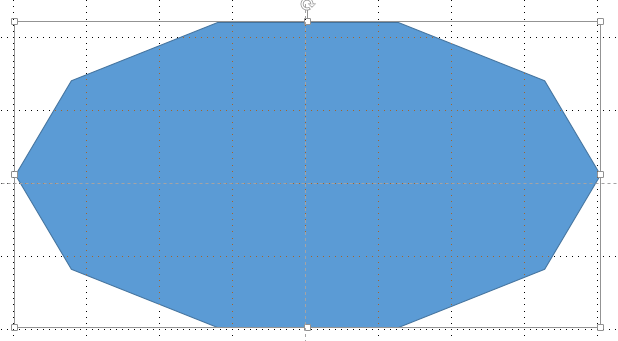
Step 6: Click on the Animations tab
![]()
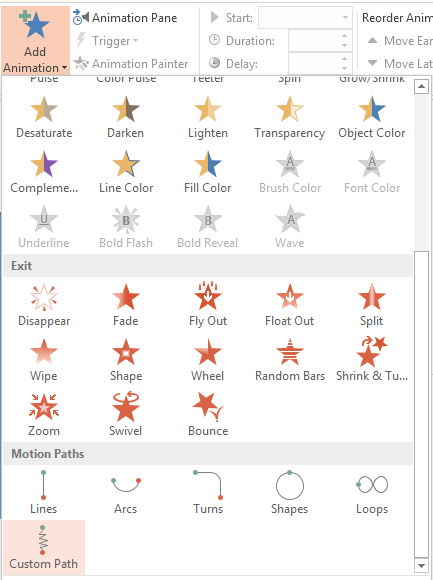
Step 7: Click on the Add Animation in the Advanced Animation section

Step 8: Select Custom Path in the Motion Paths group
Step 9: Use the crosshair mouse pointer to draw any path that you want the shape you had selected in Step 5 to take. You can click and drag to make a continuous path, or click and release several times to create a segmented path
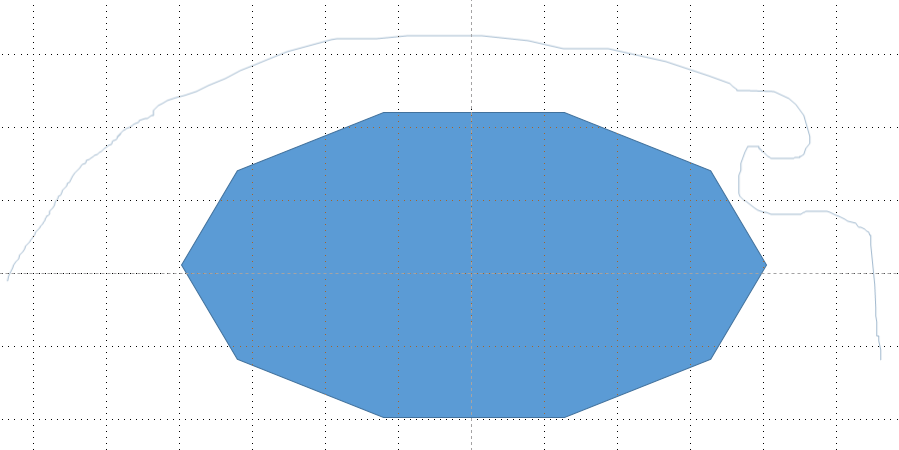
Step 10: Double-click the page to end drawing
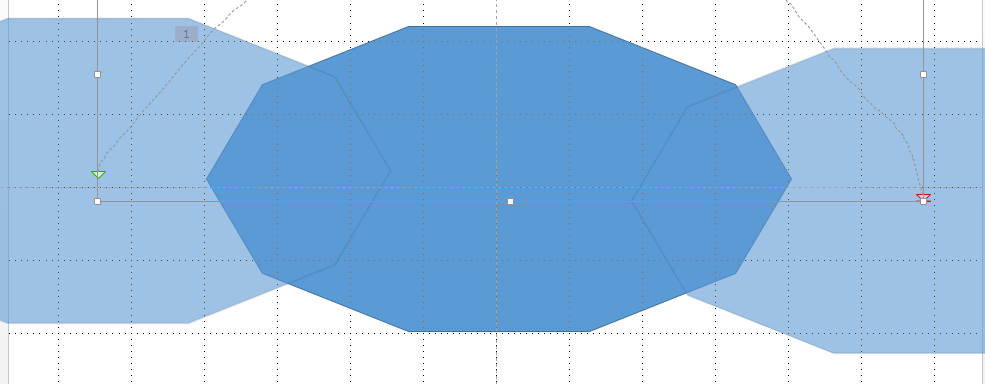
Step 11: You can see the different stages of your motion path through the different transparent shapes that appear on your slide. View the shape following your motion path in the slideshow
