How to insert an Image in Word 2013. Many times you may want to insert files to improve your presentation. This can make your documents aesthetically pleasing and effective. This is probably one of the most simple steps to complete.
- Open a Word document and click on Insert tab.
- Position the cursor in the document where you want to insert image
- Click on Pictures.

A pop dialog-box appears which allows you to select from Pictures library or any location on your computer.

4. Select the image and click on Insert
The image is inserted at the location of the cursor.
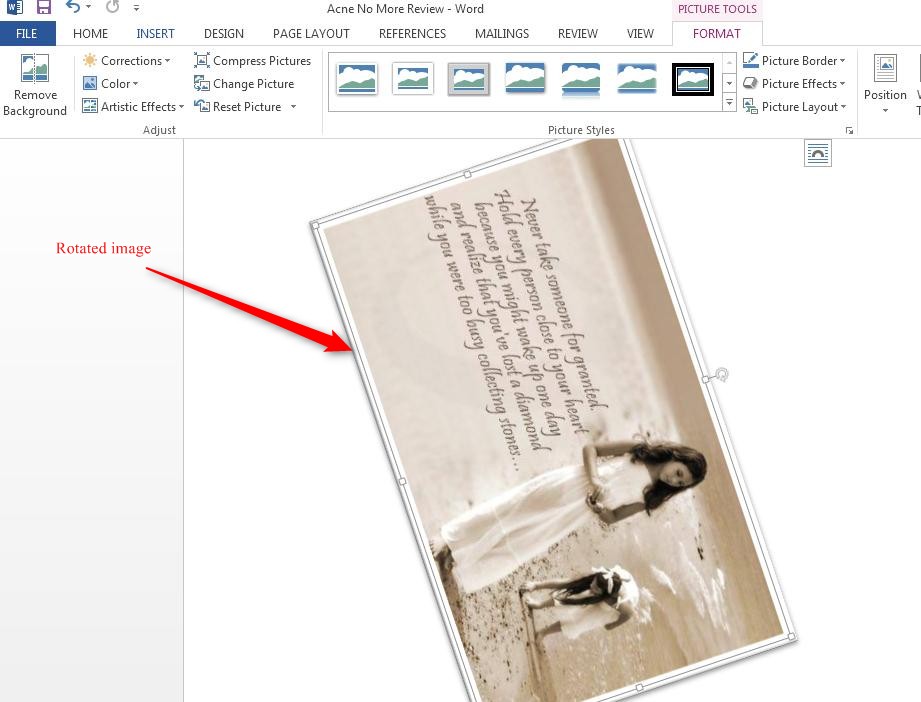
You can resize, rotate and add different effects

5. Click on the Rotate image icon displayed at top. Move the mouse in any direction to rotate it.
Every time you insert an image, you are presented with different formatting and editing options such as
- Add borders and frames to the image.
- Compress it
- Change the picture
- Reset the picture
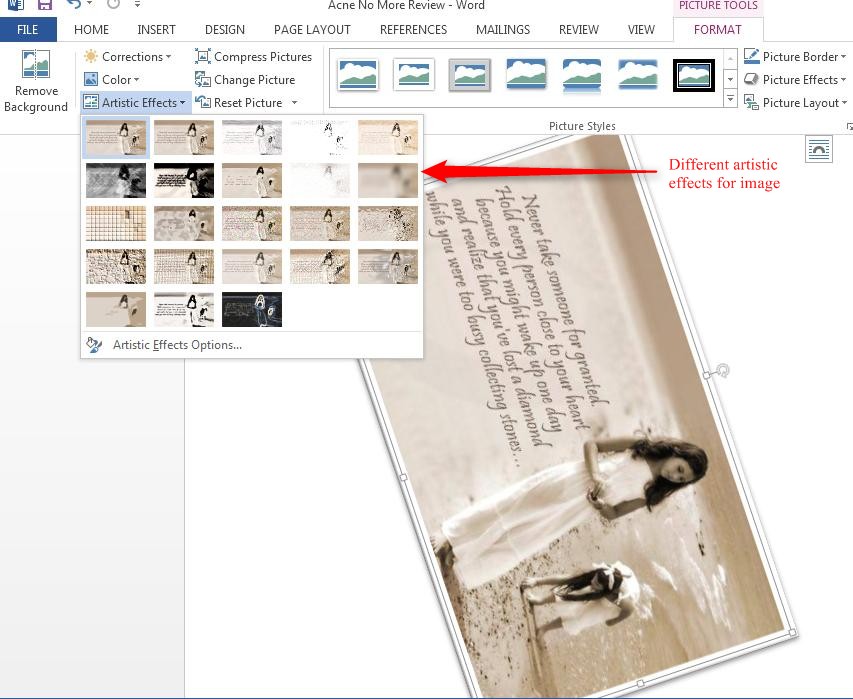
- Add artistic effects
- Change color
- Corrections