How to sort data in Excel 2013. Organizing data in a spreadsheet must have been a nightmare before Excel came up with the feature that enables users to sort out their data according to their needs. Knowing how to sort data in Excel 2013 is invaluable if you want to arrange your data in the most convenient way. Rather than sorting it out manually, which in the case of large spreadsheets could take forever, it is best to sort the data using Excel 2013. This guide hopes to walk you through how to sort data in Excel 2013.
Step 1: Launch Excel 2013
Step 2: Open a document in which you want to sort data
Step 3: Highlight the cells that you wish to sort in a particular order
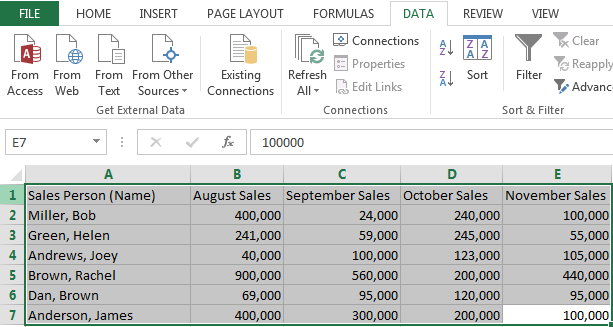
Step 4: Click on the Data tab
![]()
Step 5: If you want to sort any data in ascending or descending order, click on the corresponding sign next to the Sort button under the Data tab

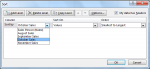
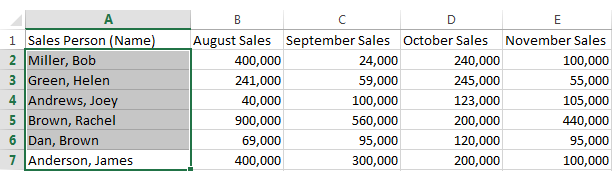
Step 6: You can sort ranges differently too. In the previous spreadsheet screenshot, if you want to sort according to October Sales, highlight all the data and click on Sort under the Data tab
Choose the right column and what you wish to sort the data on, as well as the order (either ascending or descending). Click OK once you are done and your list will be sorted according to your preferences


Step 7: You can sort out multiple groups of data separately by highlighting them individually and following the procedure demonstrated above