How to record a Macro in Excel 2010?
Macro in Excel 2010 allows you perform multiple operations. It helps to work in a smart and efficient way. By this tool we can reduce manual work and get the things done very fast. In Excel 2010 we can both record and write our own macros.
All macros related comments are located on the developers tab.
How to add Developer Tab in Excel 2010?
Step 1: Open a worksheet
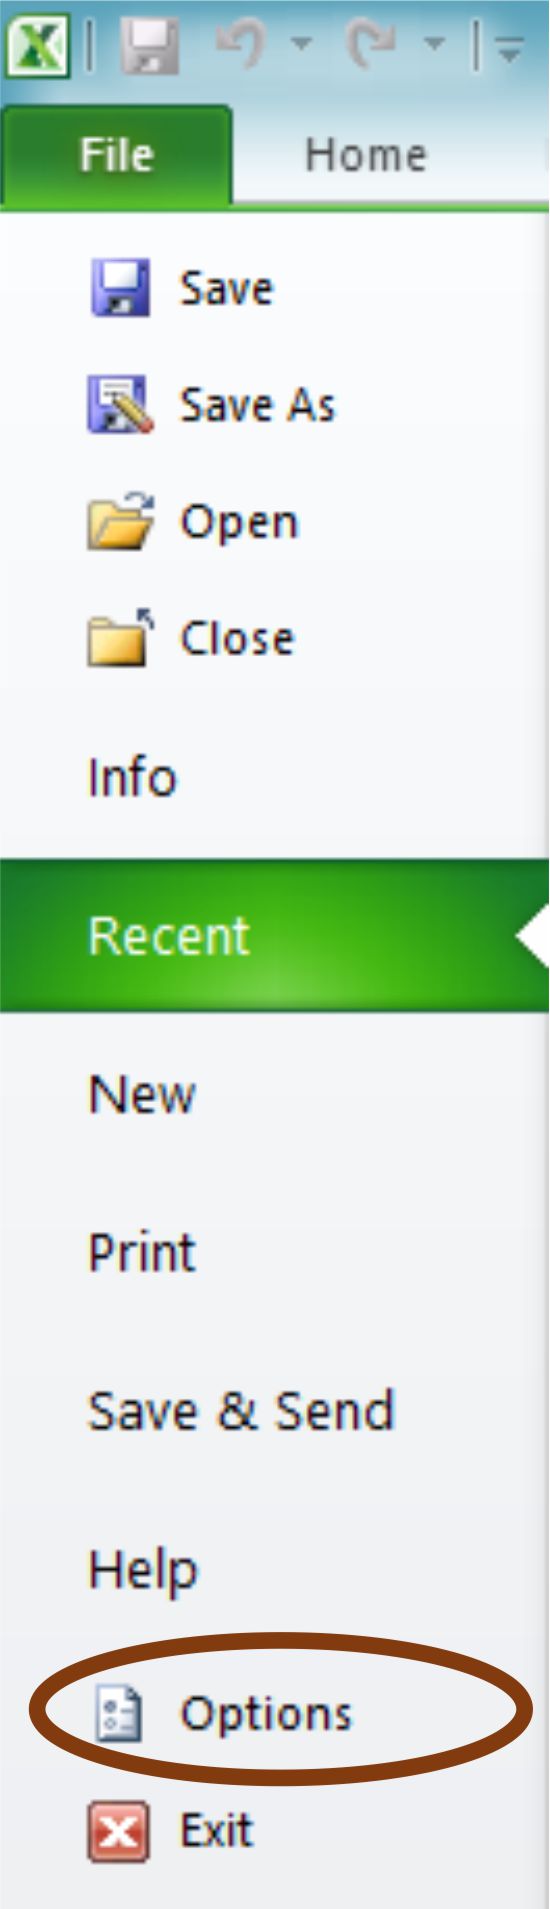
Step 2: Click on FILE tab to open file menu
Step3: Click on OPTIONS in menu to open Excel options dialogue box
Step4: Click on CUTOMIZE RIBBON option and select DEVELOPER under the CUSTOMIZE THE RIBBON option
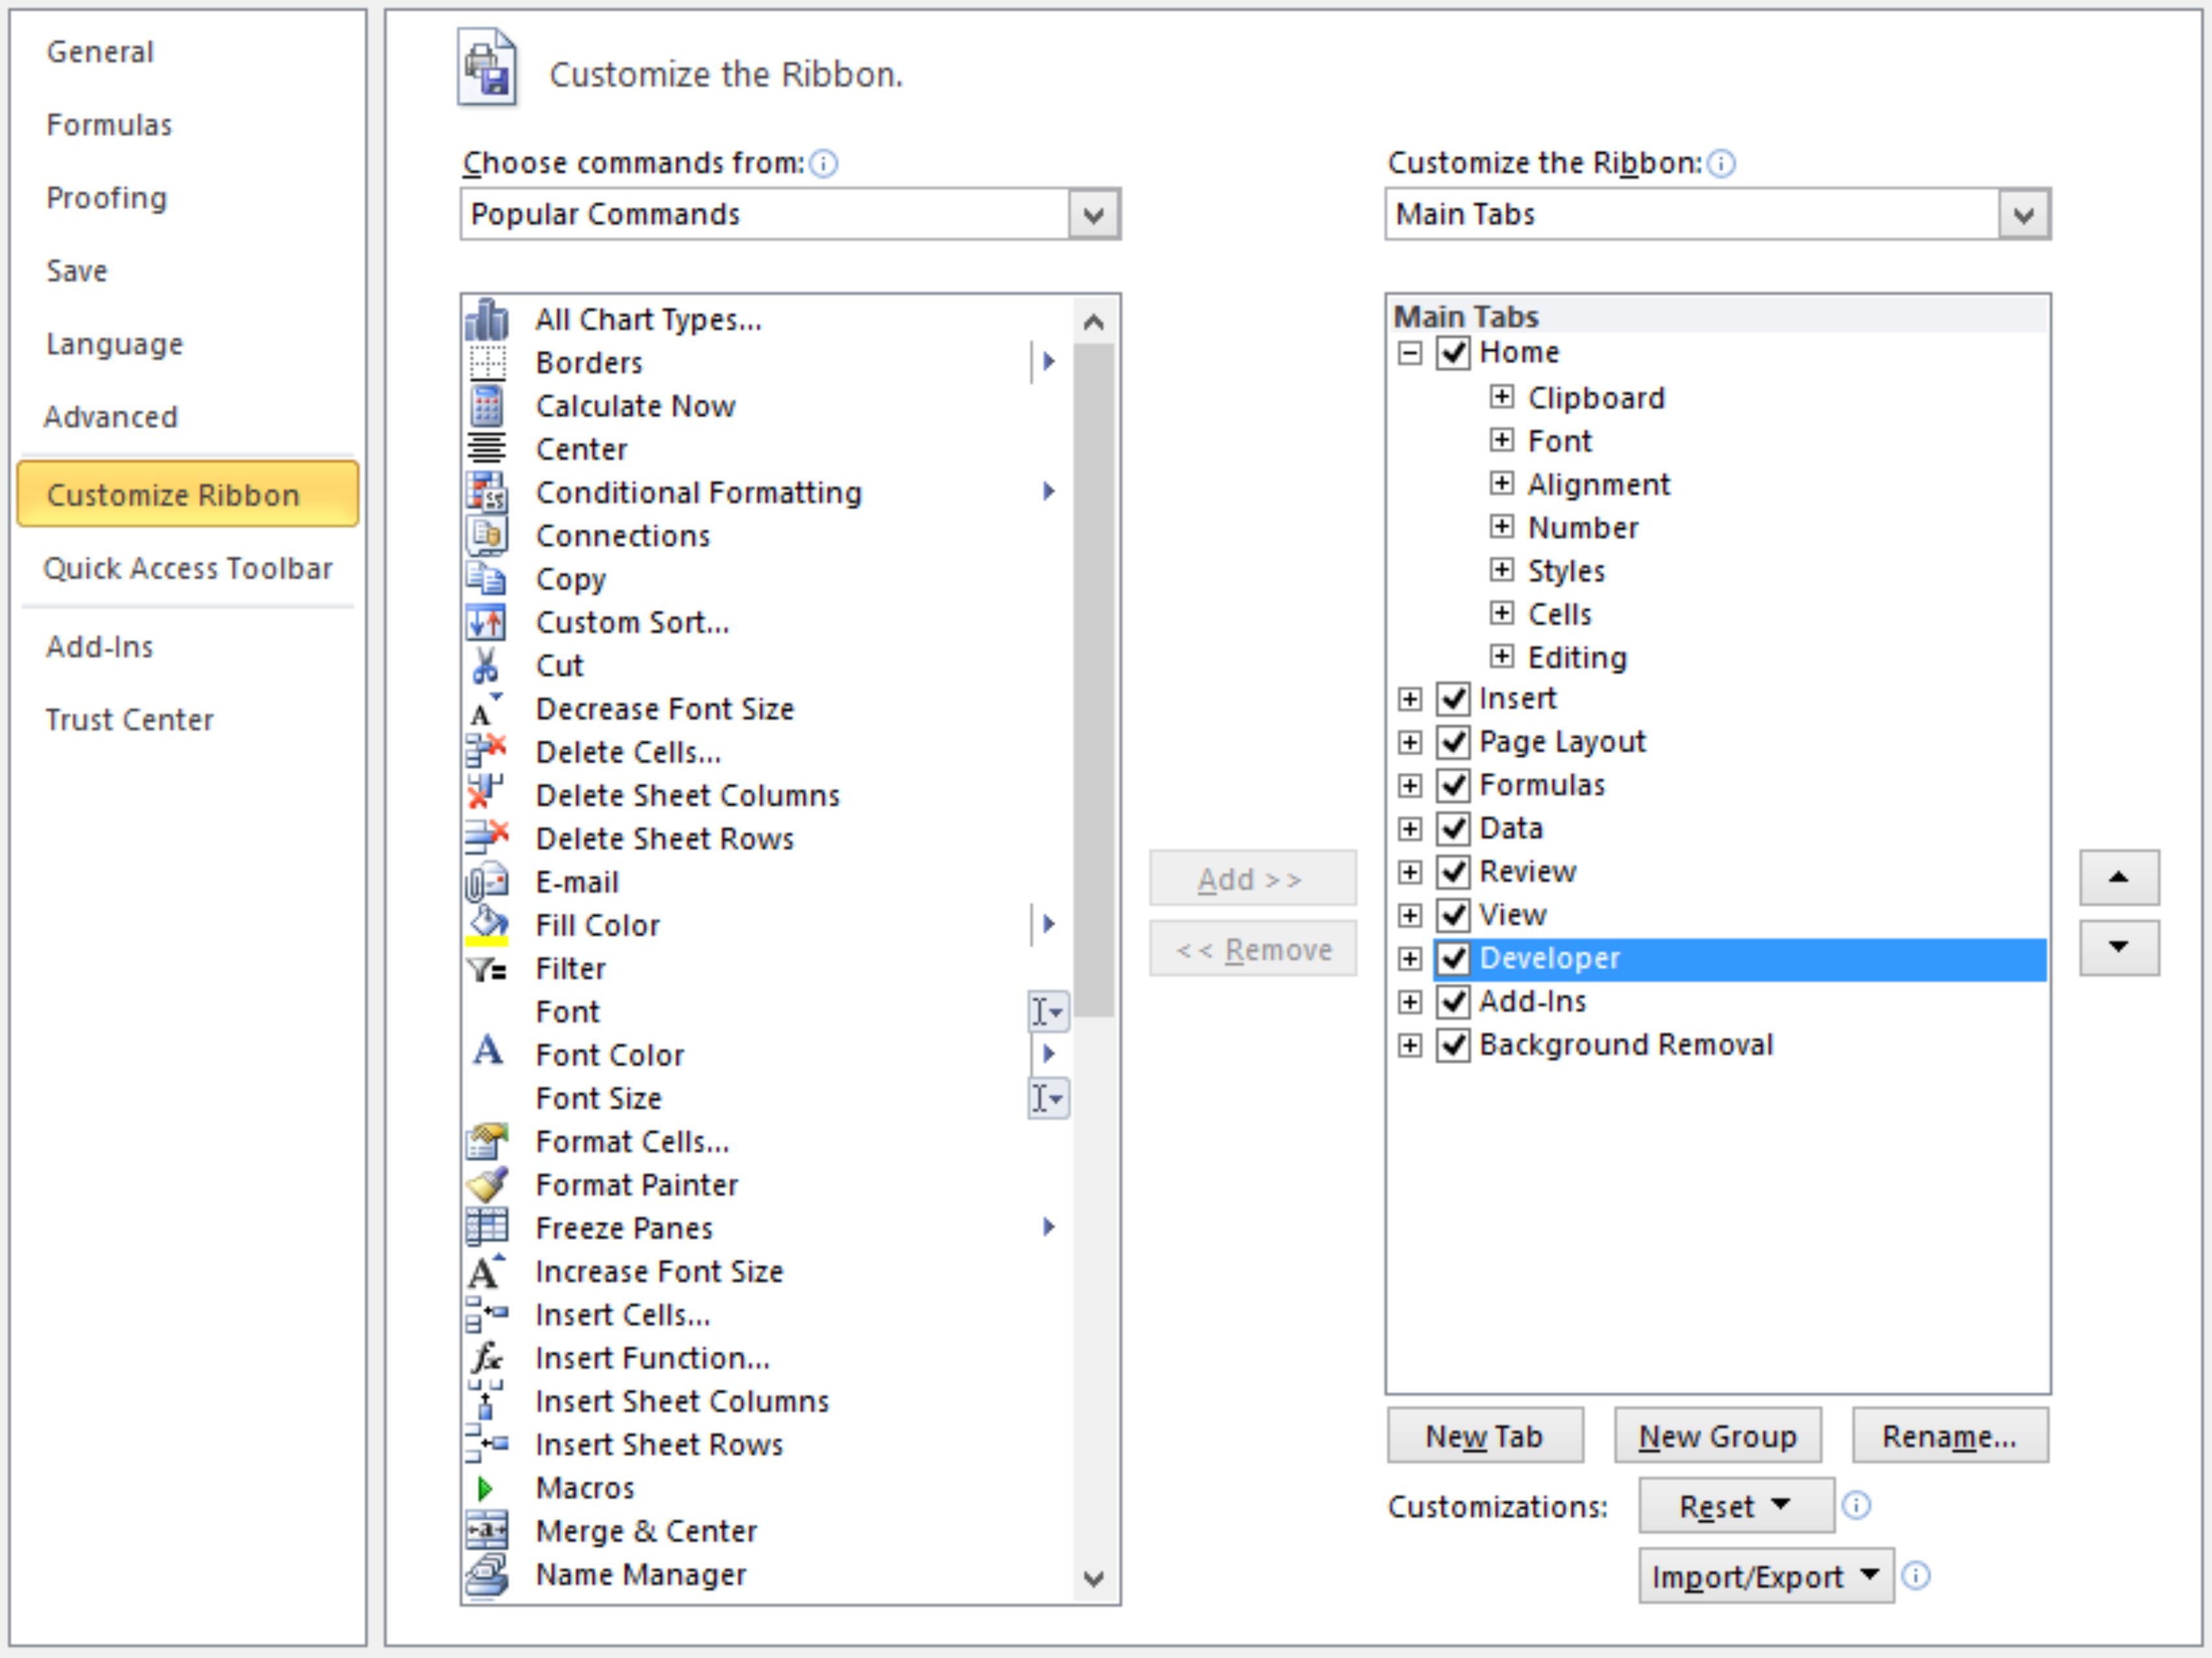
Step5: Click OK
Now we can see the Developer tab in Excel 2010
How to record Macro?
Follow below steps one by one to record a macro in Excel.
Step1: Open an Excel Work book
Step 2: Click DEVELOPER tab and then on RECORD macro which opens a dialogue box
![]()
Step 3: Write the suitable name for macro in MACRO NAME. The macro name should not begin with underscore. Also it should not contain space or invalid characters.
Step 4: Specify the shortcut key for running the particular macro. Its means when we press the particular short cut key, macros will run automatically
Step 5: With STORE MACRO IN OPTION, we can select the location to save the macros. Also we can give the description of the macro if required.
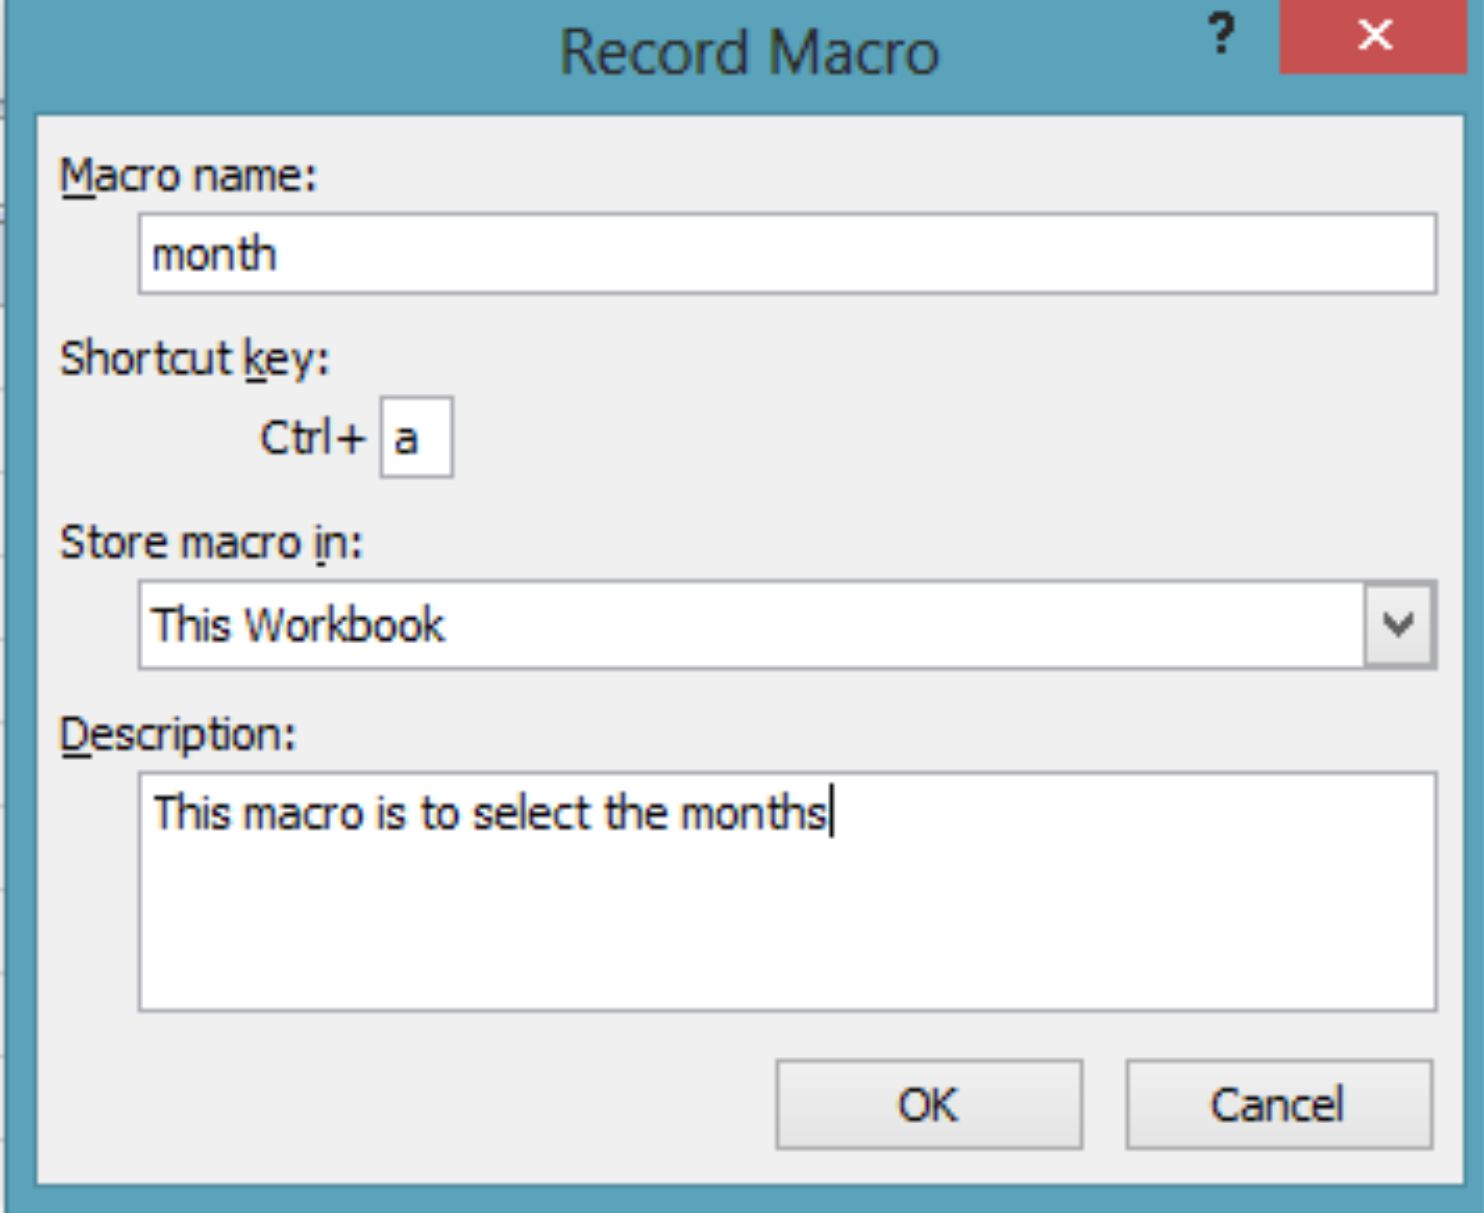
Step 6: Now click ok and do the operation on the excel sheet which is getting recorded.
Step7: Now click the Stop button.
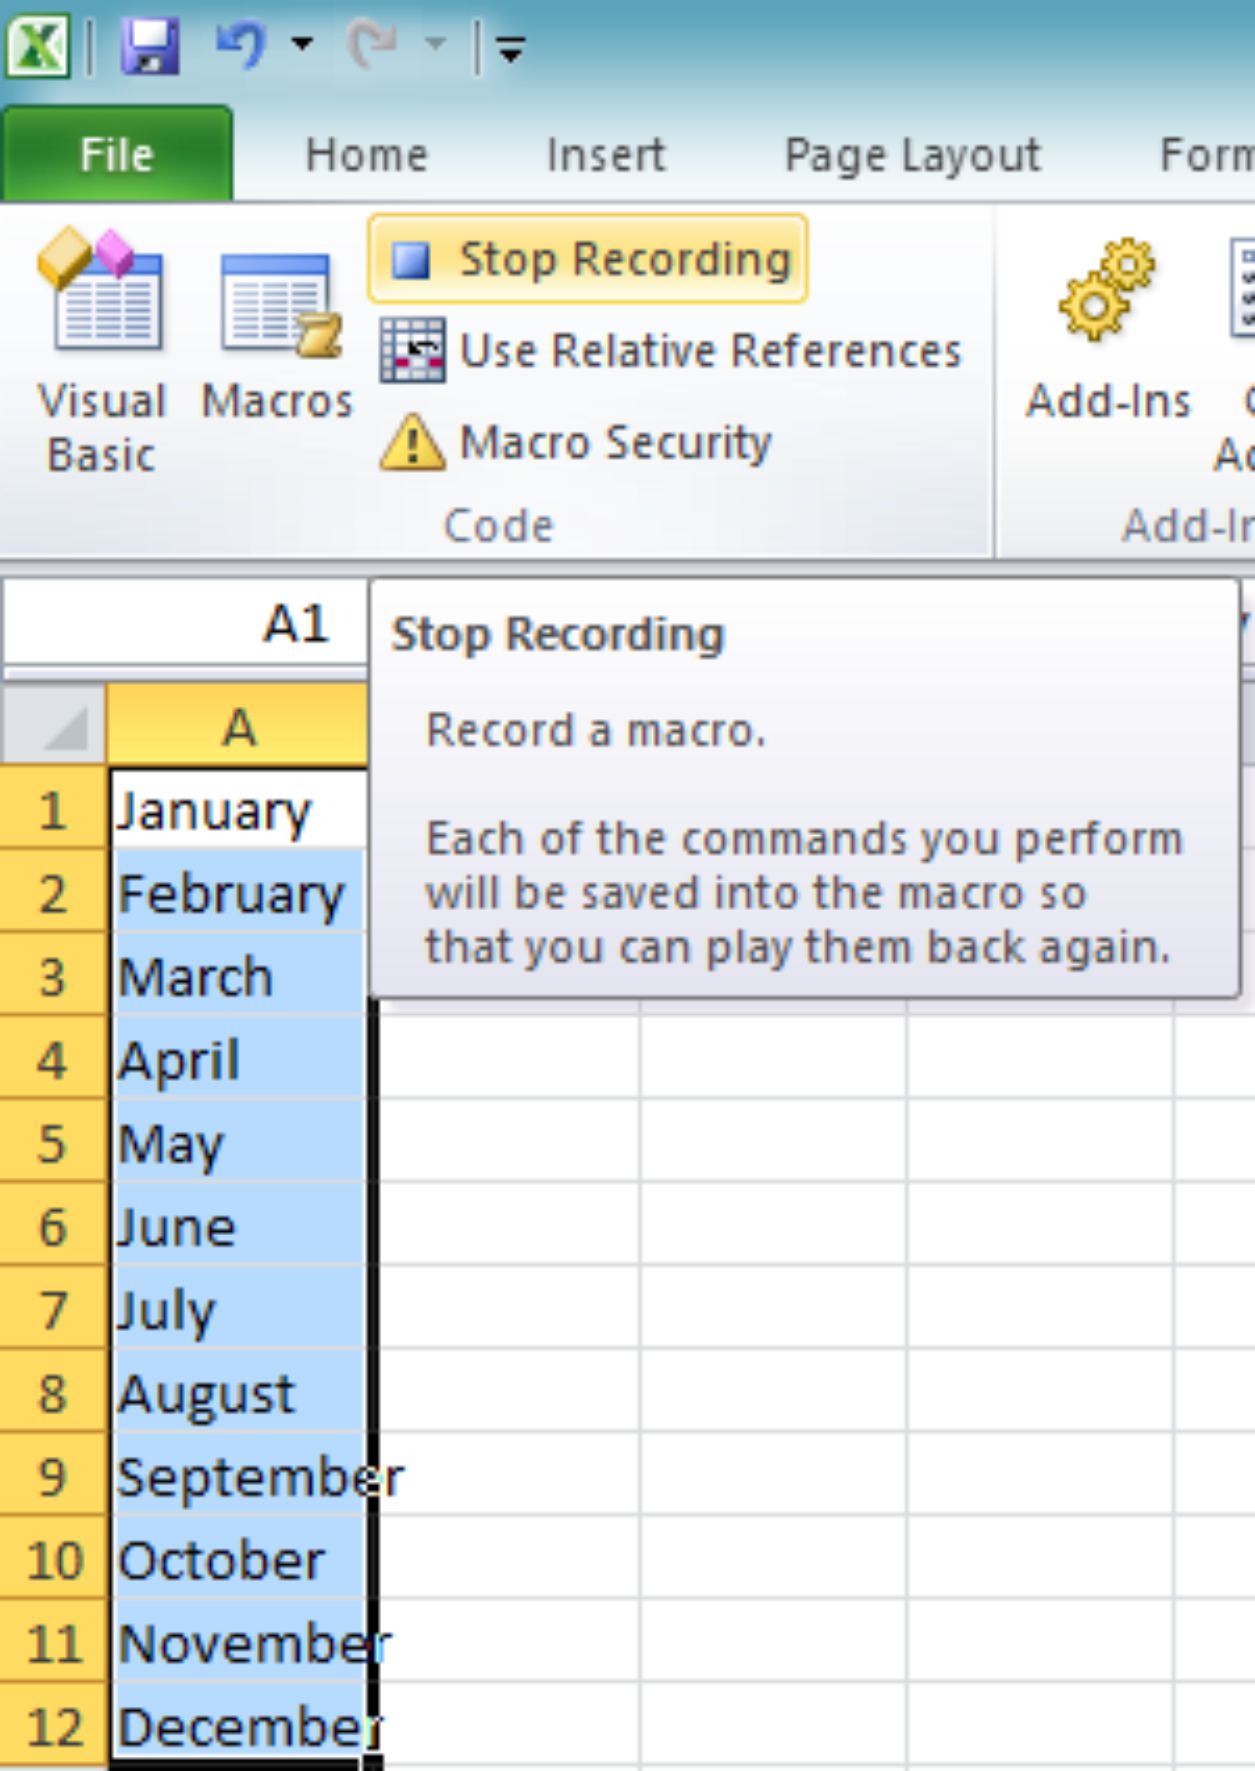
Thus the macro is recorded
How to run the macro?
Step 8: To run the macro, open different sheet in same workbook and then press Control + shortcut key.
Step 9: Else, Click on MACROS in DEVELOPERS tab which opens MACRO window
Step 10: Select the Macro name and click RUN
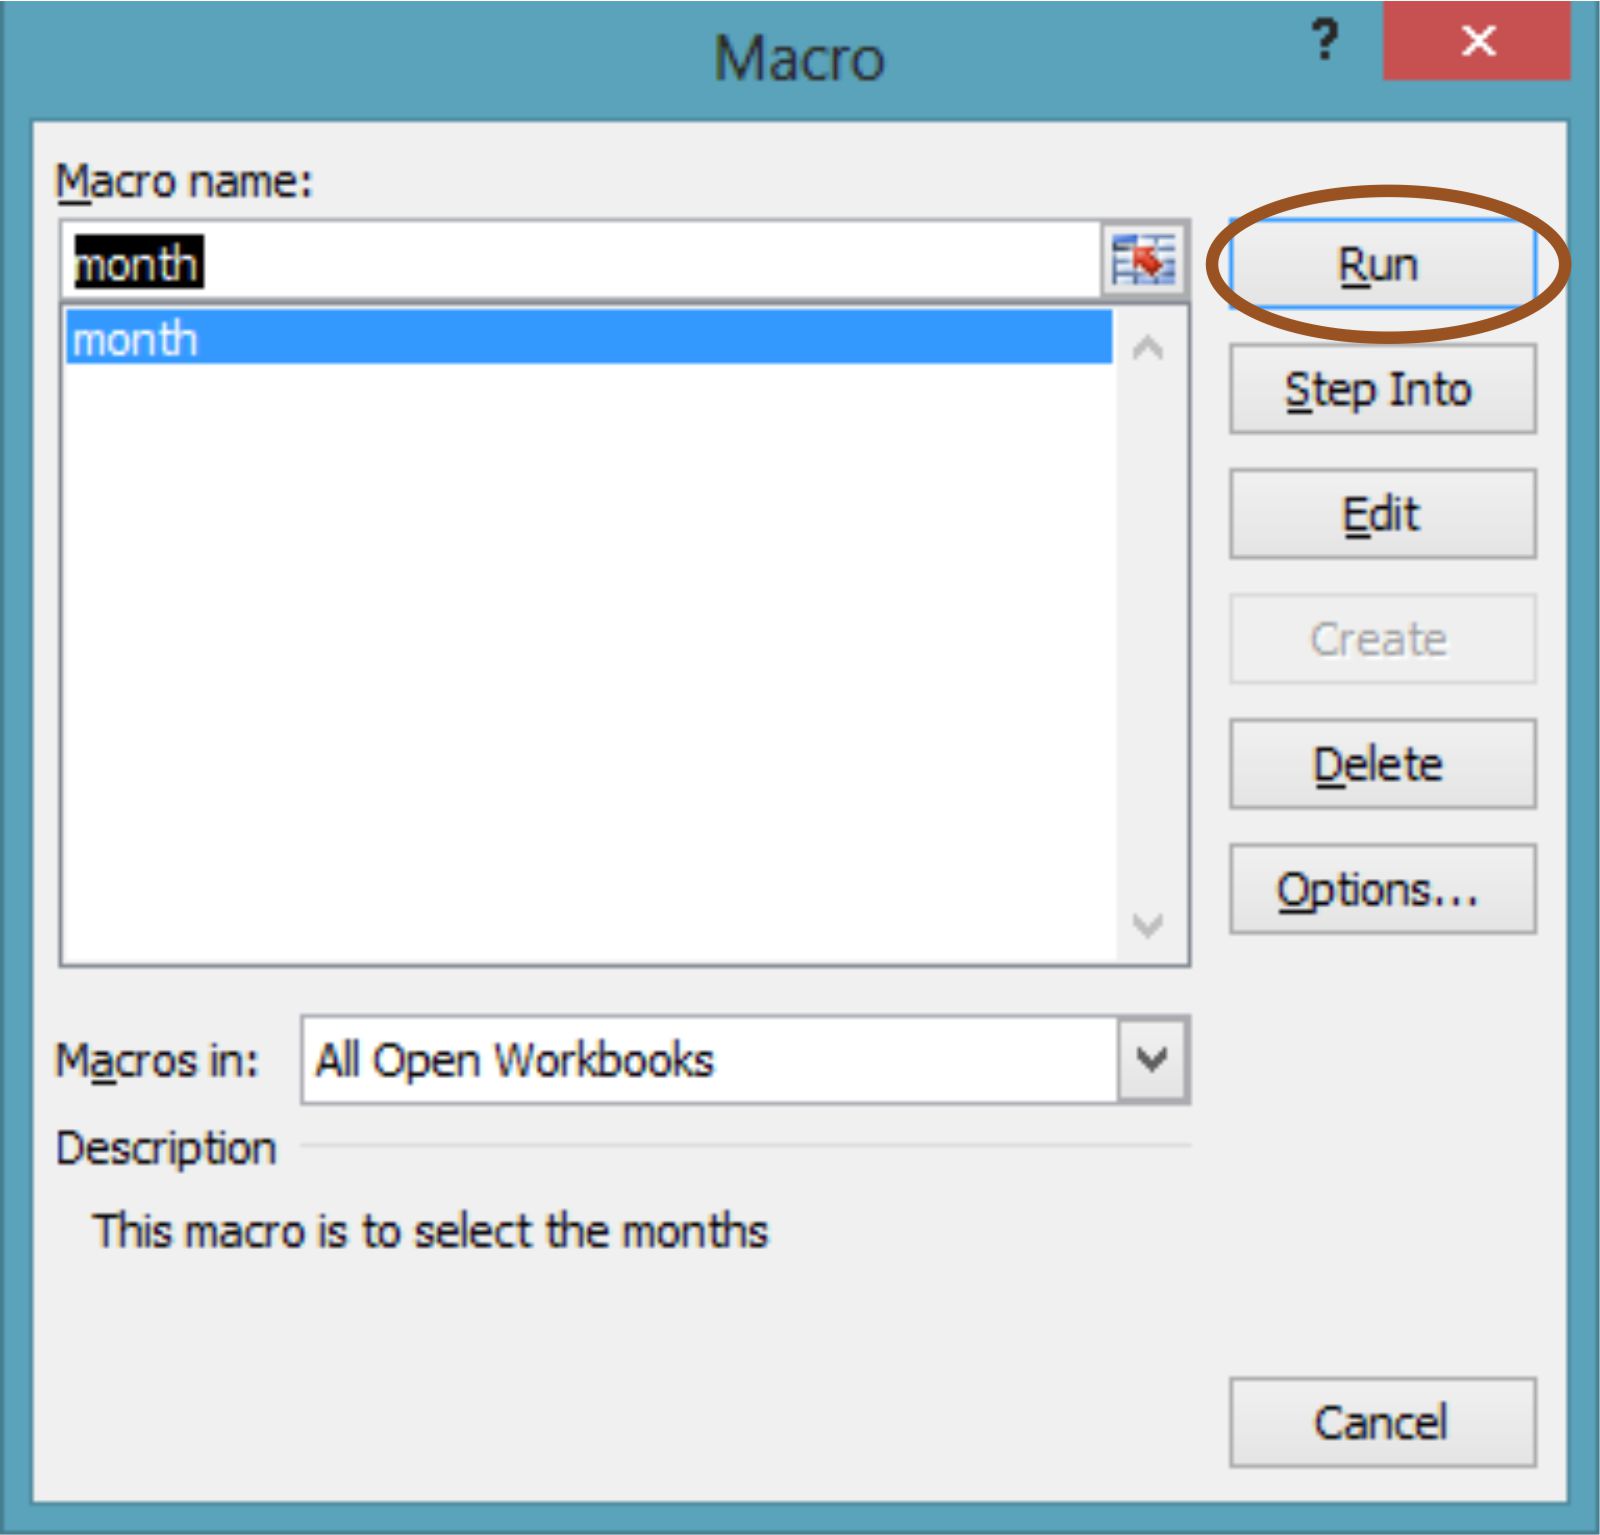
Step 11: We can see the below result
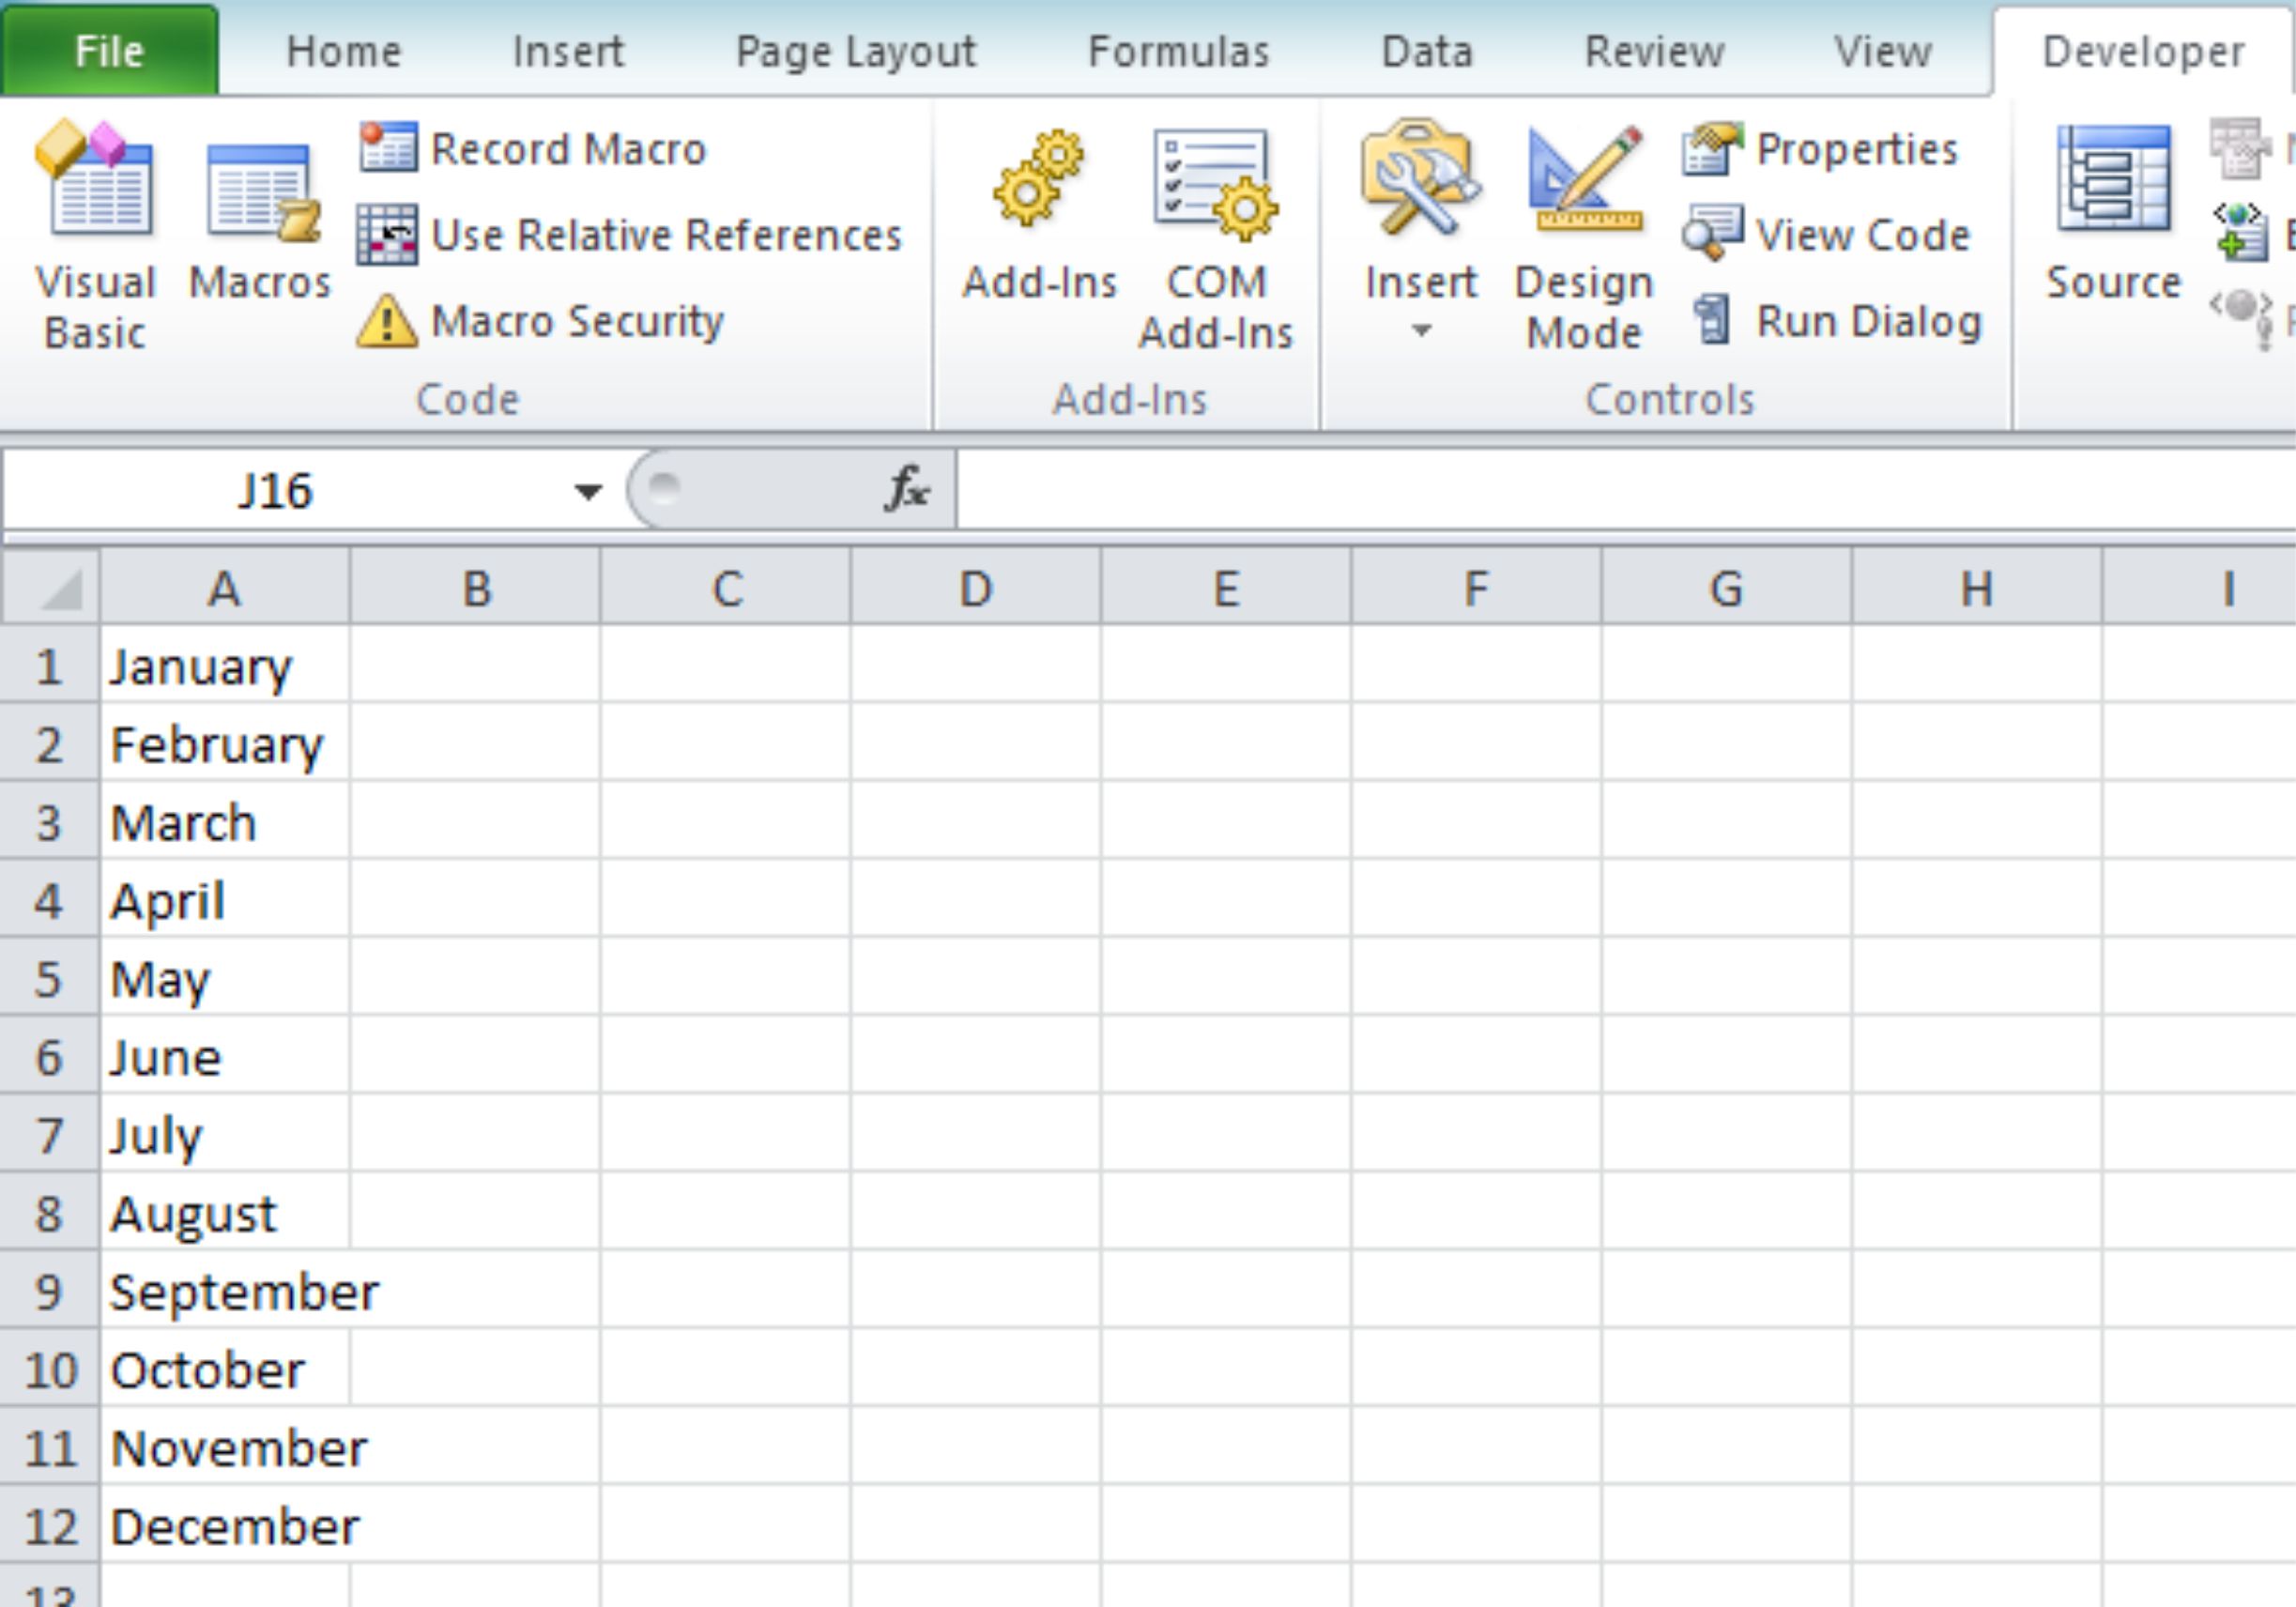
Thus we can repeat the same task in multiple worksheets.