Quick Access Toolbar in Excel 2013
Quick Access Toolbar is Located just above the Ribbon. It let you access the most general & common commands. By default, Quick Access Toolbar in Excel 2013 includes Commands like, Save, Undo, and Repeat. Yes of Course you can add other commands to Quick Access Toolbar depending on your preference.
Here’s How to Add Custom Commands to the Quick Access Toolbar:
- First of all, click the drop-down arrow that appears to the right of the Excel’s Quick Access Toolbar.
- Next, select the command or Option you want to add from the drop-down menu. If you want to choose or need more commands, just select More Commands.
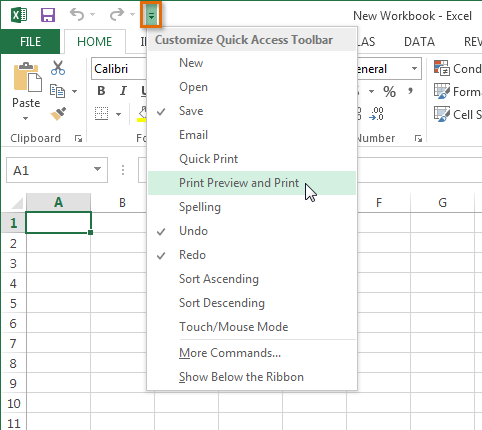
- After that selected command will be automatically added to the Quick Access Toolbar.

The added command
Backstage View
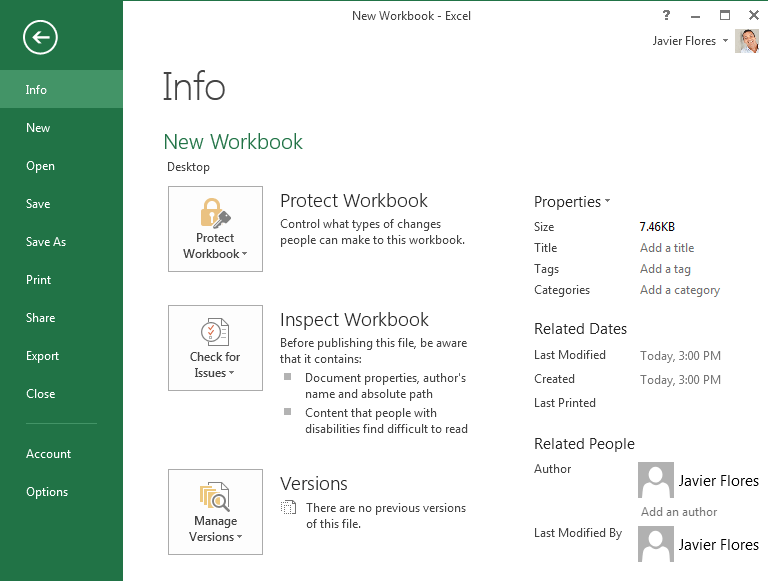
Backstage view in Excel 2010 gives you options for saving, opening, printing, & sharing of your workbooks.
Here’s How to Access Backstage View in Excel 2013:
- Click the tab that says, “File” on the Ribbon,
- Backstage view will appear.

Clicking the File tab
AutoRecover Files in Excel 2013
Did you know? Excel 2013 automatically saves workbooks on you are working to a system defined temporary folder. Sometimes, if you forget to save the changes & Excel crashes or Other Errors occur, you can restore the file on which you are working using AutoRecover Tool.
Her’s How to Use AutoRecover tool in Excel 2013:
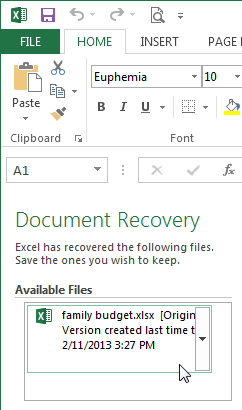
- To recover the workbook that was lost due to error without saving, first reopen Excel 2013. You will see Document Recovery pane. Auto-saved & Recovered versions of the file will appear here.
- Simply click on the file to open an available file & workbook will be recovered.
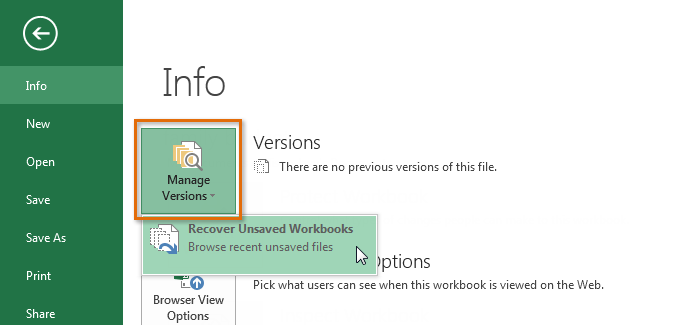
Tip: Excel 2013 auto-saves workbooks every 10 minutes. If you are working on a workbook for less than 300 seconds, Excel 2013 may not create any auto-saved version. Manage Versions using Auto Recover Options.