WordPress provides you with an option of creating your website and blogs online very quickly and easily. Once you sign up and select your domain name, the first step is creating the posts for your blog and site. Creating the posts on your WordPress site is a step by step process that can be easily followed.
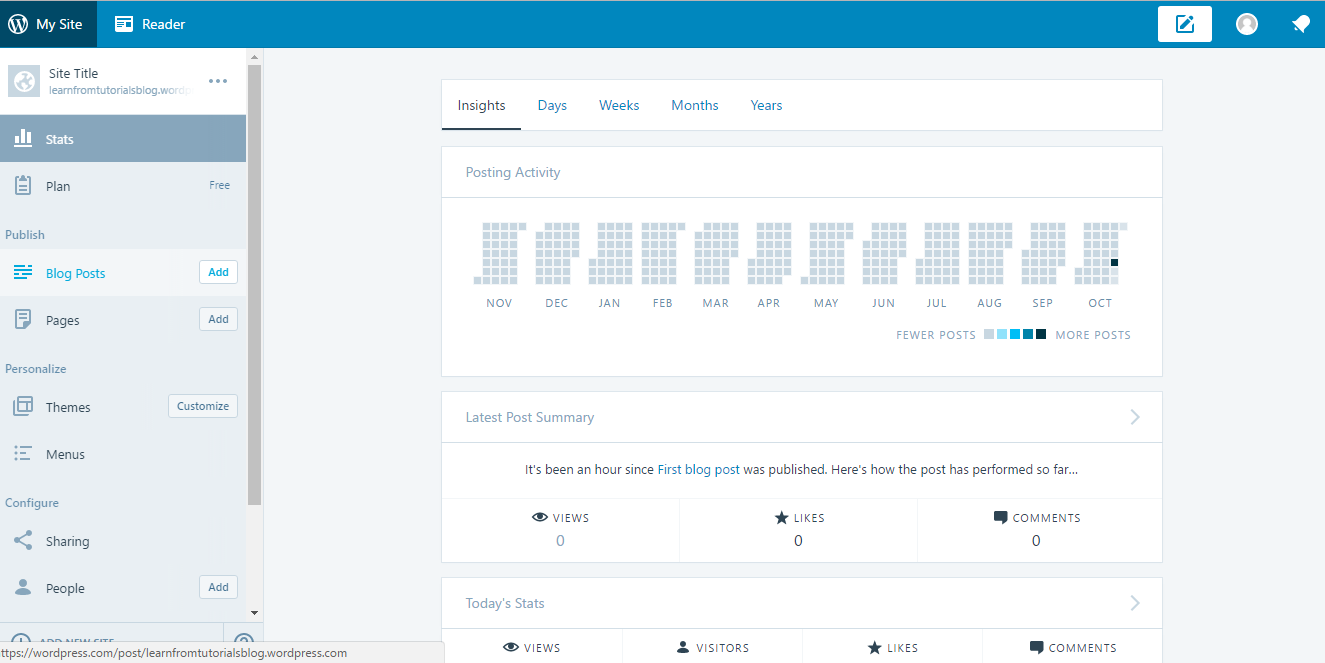
1. To start the post creation, go to the menu Posts on the left hand side of your WordPress dashboard and under the Publish option, click on the Blog Posts link or you can try to explore it for further options. You can see the option- Add where you will be able to create your post with your own title and content.
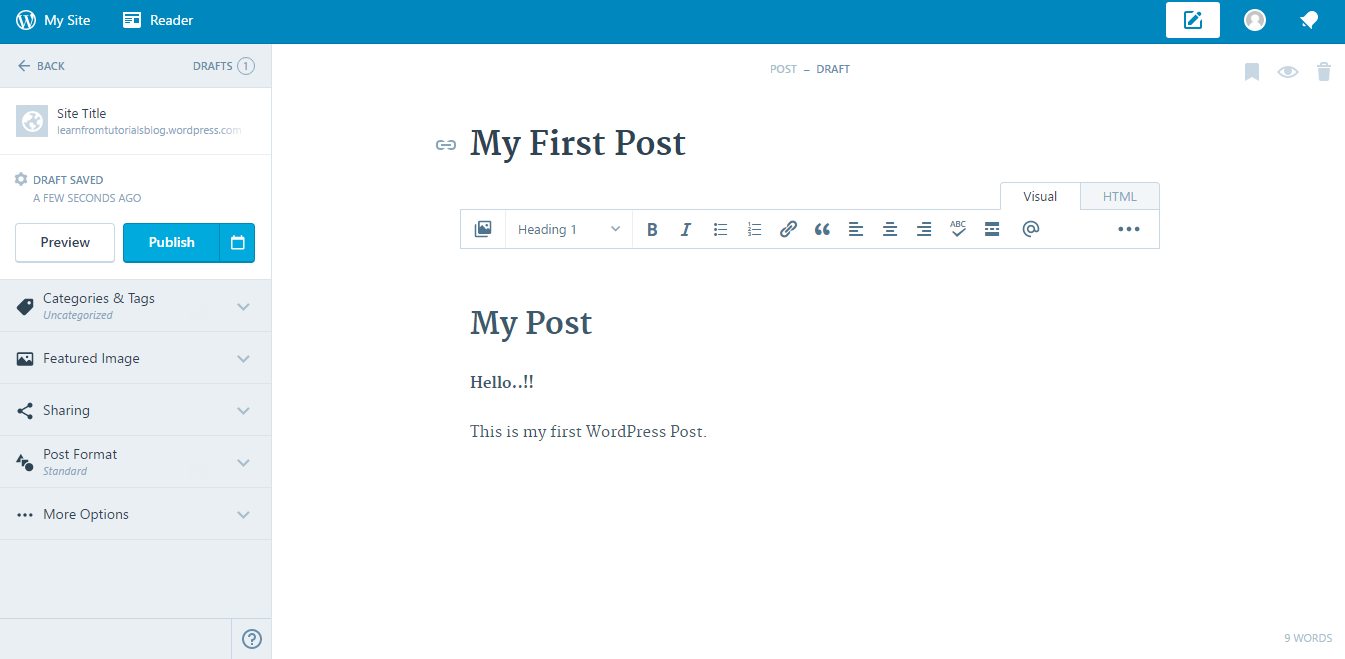
2. This will open the post editor i.e. the area where you can write the post data. The upper part contains the title of the post that you can enter. The second half of the post contains the body of the post where you can enter the entire content.
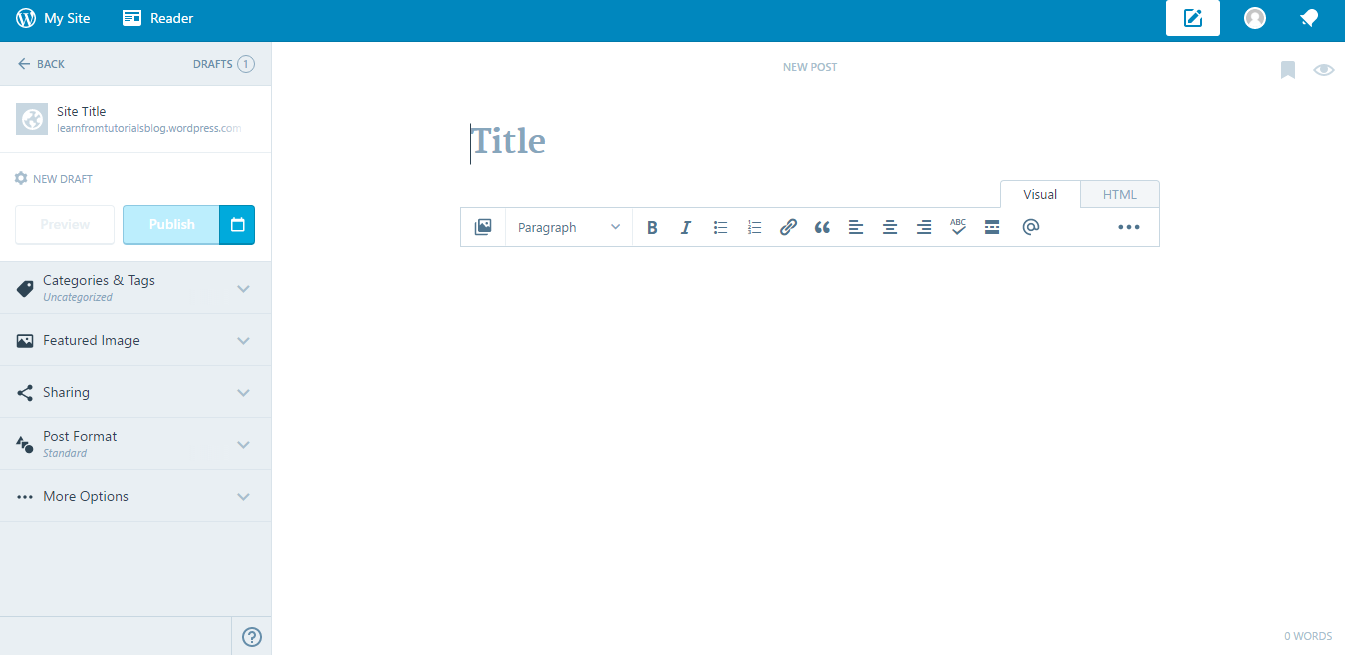
3. This whole section has two tabs – Visual and HTML/Text. The Visual tab contains the content the way it will be displayed on the web browser. It performs the function of WYSIWYG i.e. ‘What You See Is What You Get’. In the Visual tab, you can perform all kinds of formatting functions like Bold, Italics, Headings, Bullets, and Indentation etc. These can be done by simply clicking the options.
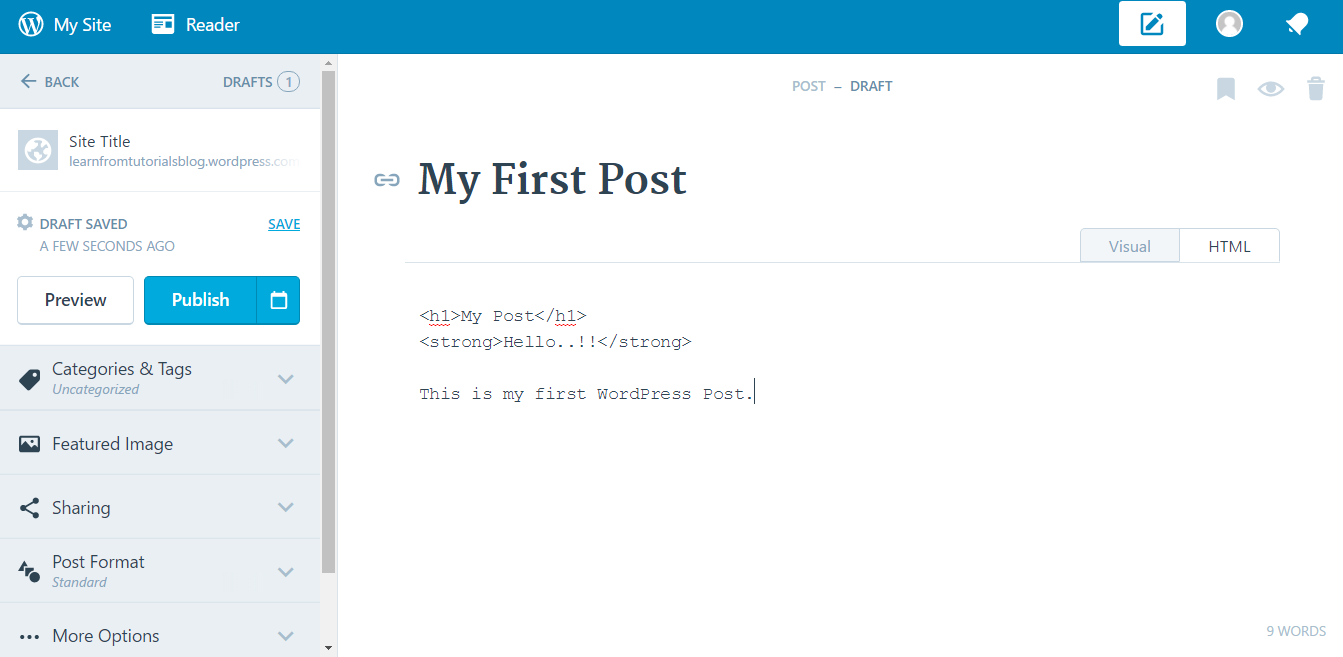
4. In the Text or HTML tab, you can see the HTML code updated automatically as per your content in the Visual Tab. You don’t have to manually type the whole code which is biggest advantage of WordPress.
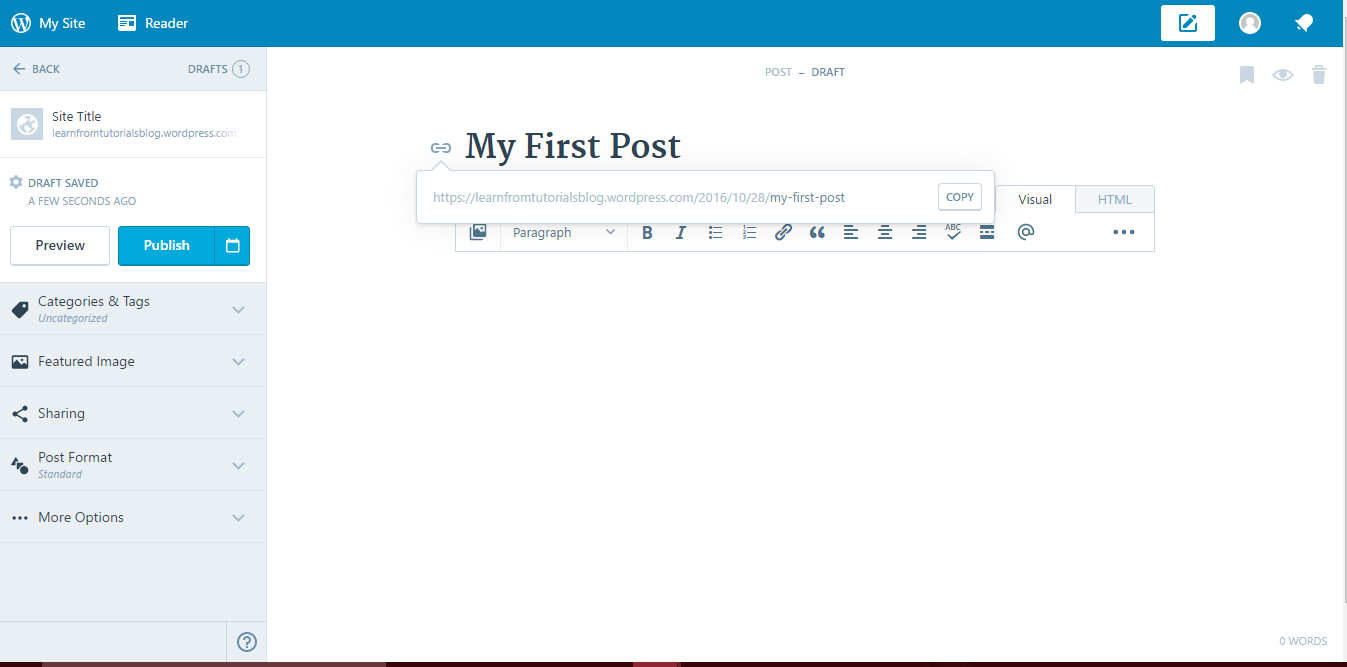
5. Once you are done with the version of your post being displayed in the Visual tab, you can go for publishing your post. Go to the top right of your screen and you will find Publish option which can be used to save your post for publishing later on as well.
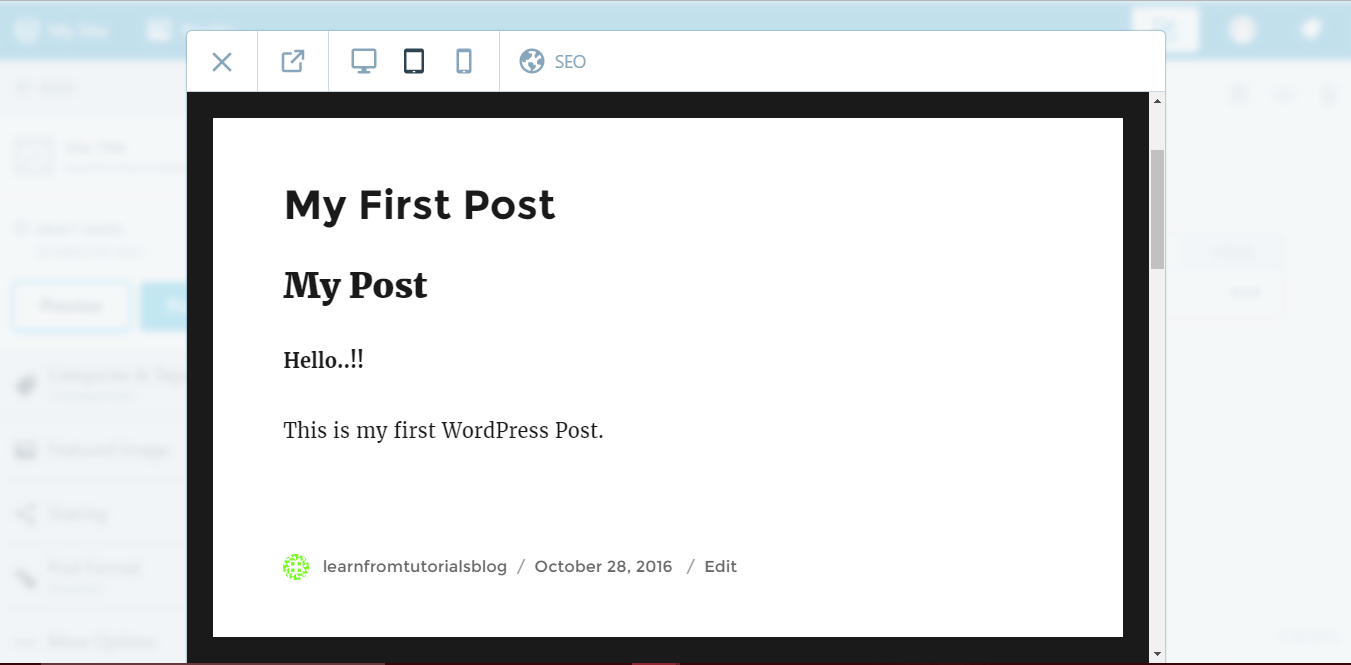
6. You can also use the Preview option to see how your post will look before publishing it. Your first post is ready for publishing.
On the right side of the screen, you can see some more options like Categories and tags, Featured Image, Sharing etc. We will discuss these options in detail later.