
Creating a simple Light Source in Photoshop
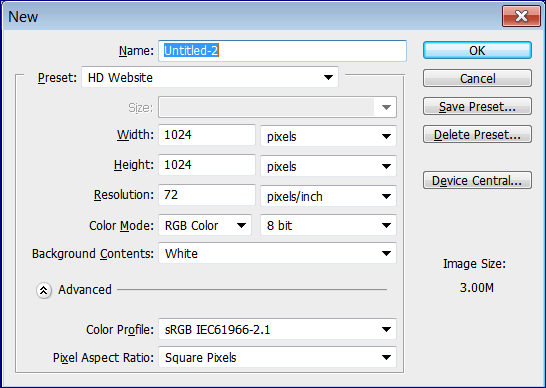
1. Start by opening a new Document – 1024 x 1024 with 72 dpi resolution
2. Select a very dark color for the background but not completely black – try something like #111111

3. Create a new Layer and set the foreground color to a soft color, something like #004a80. Fill the layer with the new color.

4. Now let’s create our Light source. Create a new Layer, Set the foreground color to White and choose a soft Brush with a diameter of 500. Click in the middle so the light source is centered. Making sure not to allow the white edges of the brush to bleed past the edges of the document. Now you should be able to drag that layer around without seeing the edges. This is your light source.

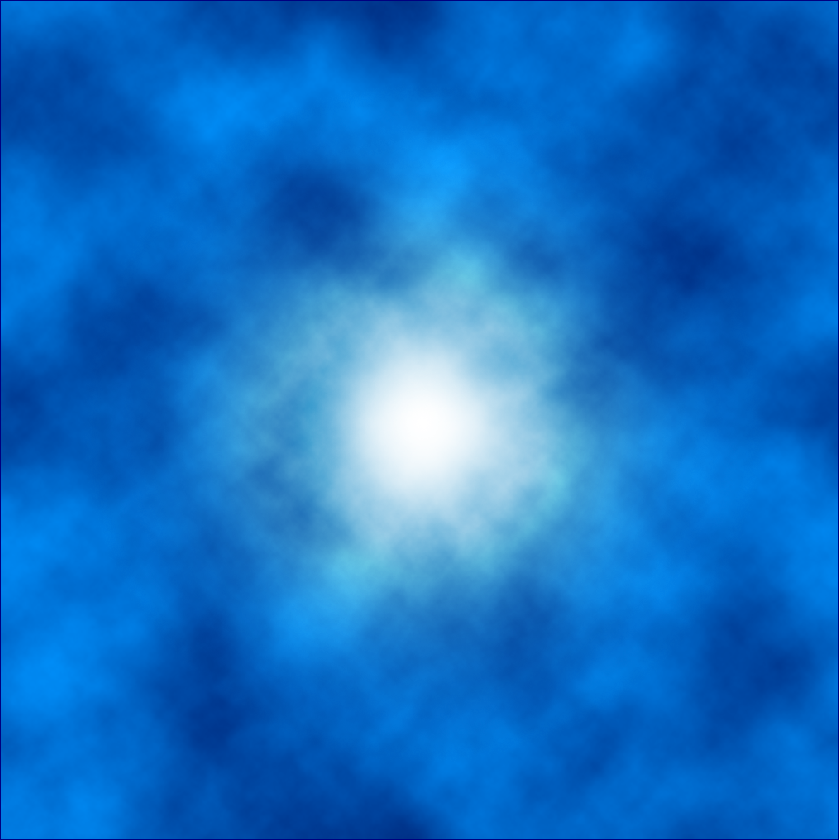
5. Create a new Layer, keeping the white as the foreground color and #004a80 as the background color, go to Filter, Render, Clouds. Set the layer to Overlay.
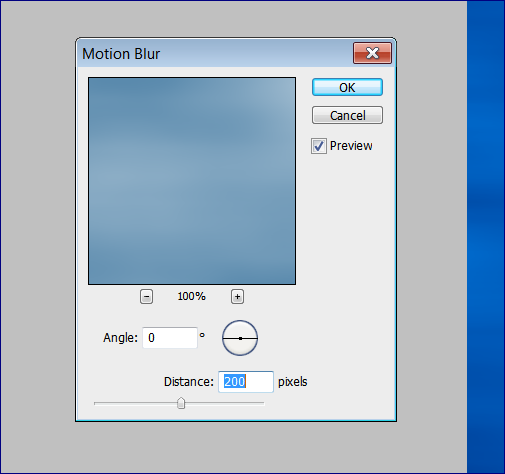
6. From the Menu go to Filter, Blur, Motion Blur and set the distance to 200.
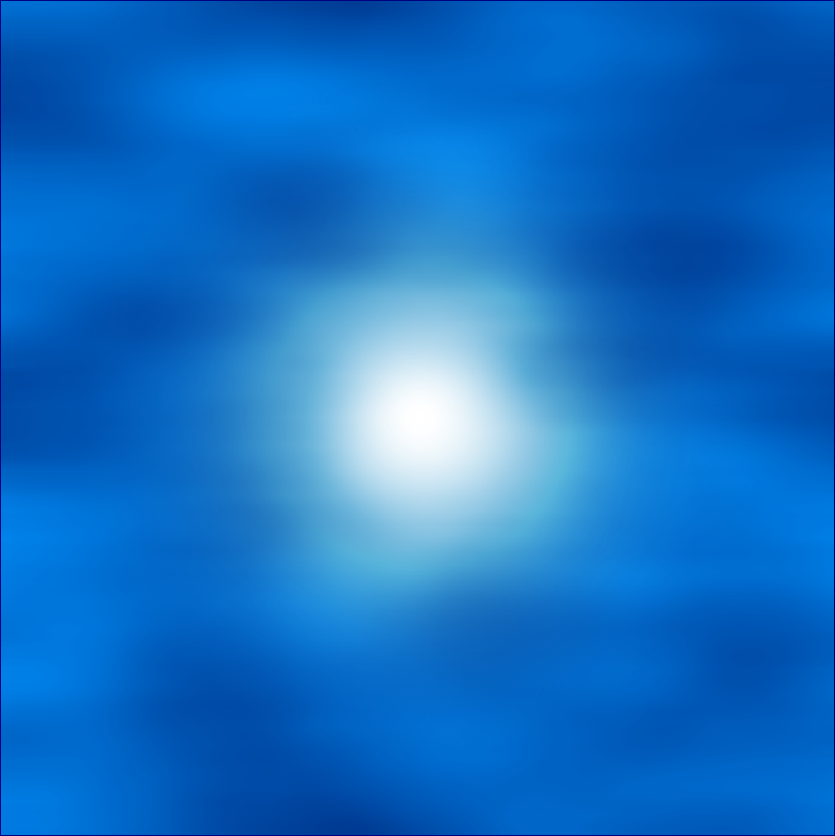
You should have something that looks like this:
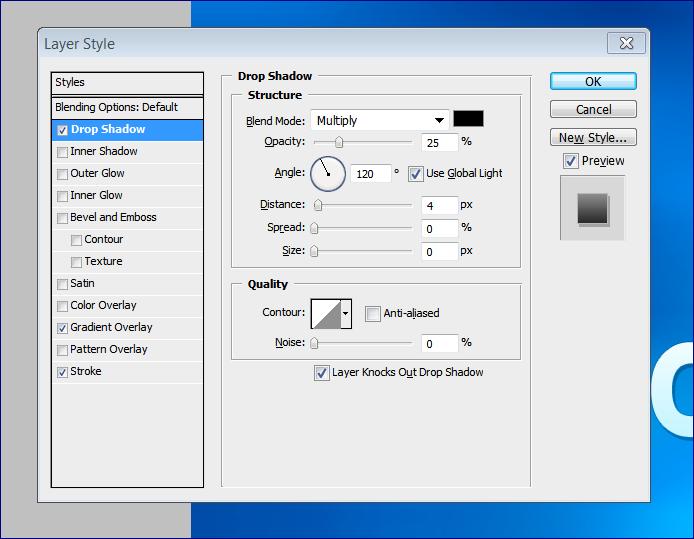
7. Type some Text and use the Ubuntu Font.

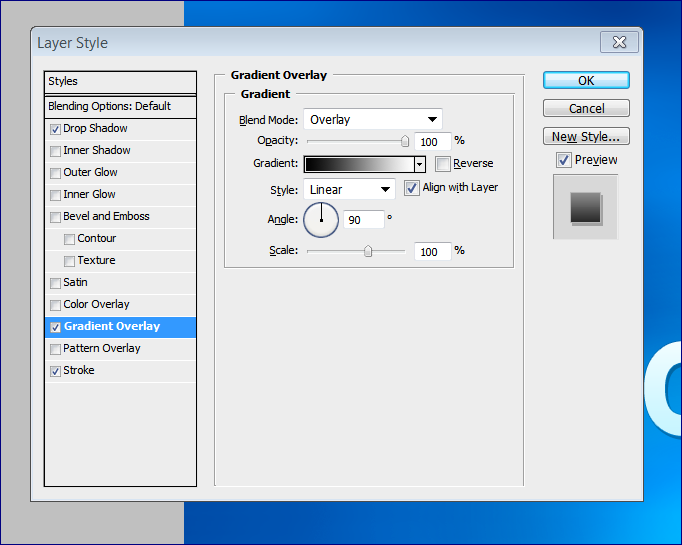
Apply the following Layer Effects to your Text:

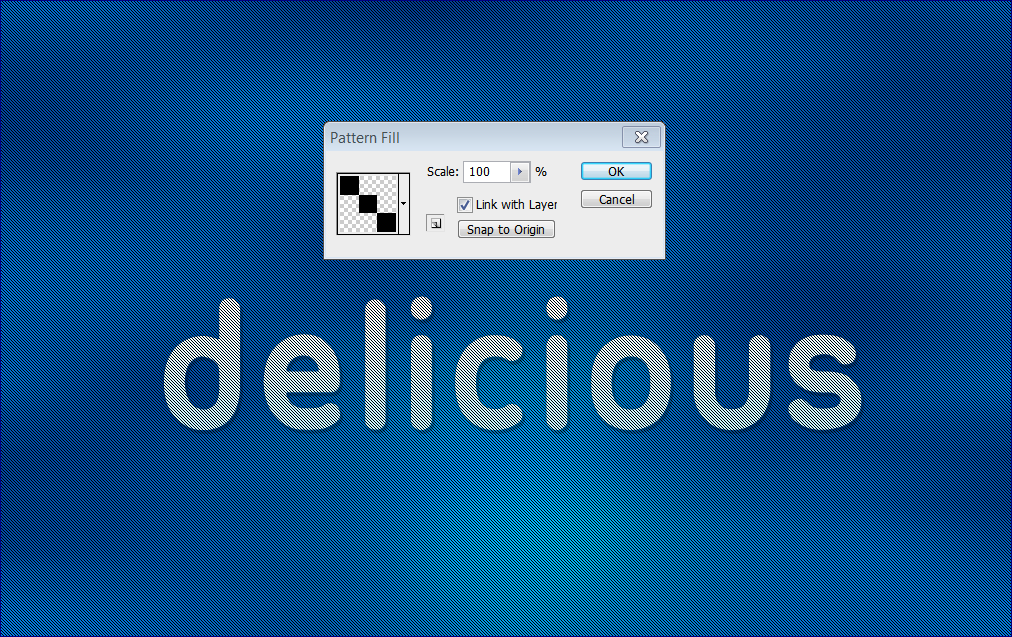
8. Go to Layer, New Fill Layer, Pattern. Select a Pattern with scan lines and set the Layer to Overlay. You can then lower the opacity to 50%.
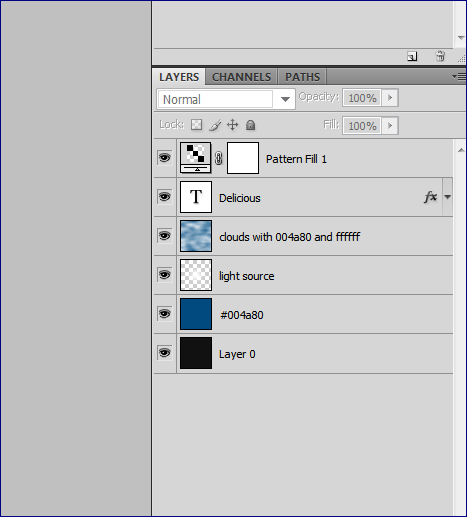
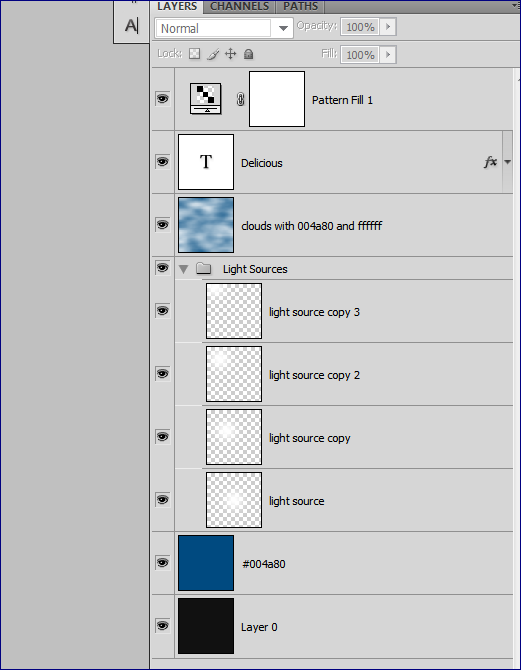
9. Let’s take a look at our Layers panel and organize it a bit. We are going to work with the 3rd layer, the white brush stroke we made – let’s rename that to Light Source.
10. Duplicate the Light Source layer (Ctrl + J on PC or Command + J on Mac) and drag the new layer anywhere on the document. I have duplicated the Layer 3 times and moved the Light Source like this:

11. Again, staying organized, from your Layers Panel select all 4 of the light source layers and press CTRL + G to Group them into one folder.
12. Now we need to darken it up a bit. Create a new Layer and fill it with #043457. Then set the Layer to Hard Light.

13. Select the Eraser tool, make the brush size 500 and just erase the area where your text is underneath and some of the light source. Play with it until you get the desired effect. And as a final touch, you can drag the Light Sources folder around without any problems to try different light angles.
And here is the final result of Creating a Light Source in Photoshop!

You can download the PSD file here: Creating a simple Light Source in Photoshop