Vector Layer Shape Options in Photoshop CS6
Custom shapes have been in Photoshop as long as we remember, but now, in Photoshop CS6, they come with very comfortable and useful chages that make working with the shapes easier than ever.
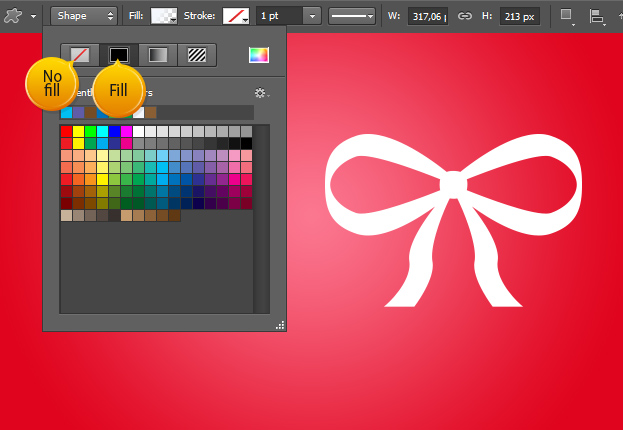
01. Just make your shape like always with the Custom Shape tool from the toolbar and now when you’d want to change the color of the shape, just go in the upper menu, click on the Fill and you will see many options there. The first two are:
– No fill – which takes any fill away from the shape making it transparent
– Fill – pick any solid color
the easy thing here is that you just have to one-click them and the change is immediately added on your shape.
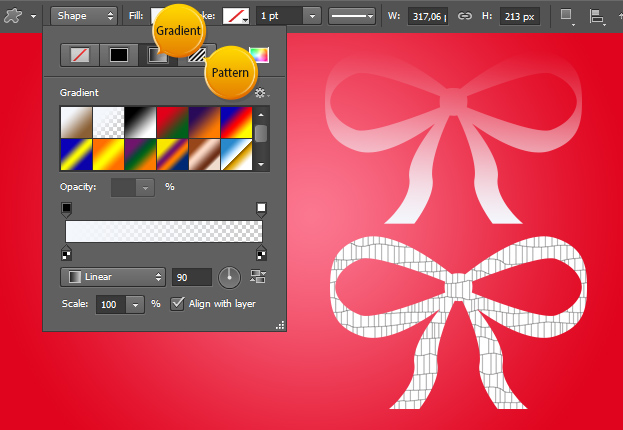
02. The two last option under the Fill are:
– Gradient – choose a gradient overlay on your shape
– Pattern – choose a pattern for your shape
Again, the effect will be added with just one click on the chosen color or pattern.
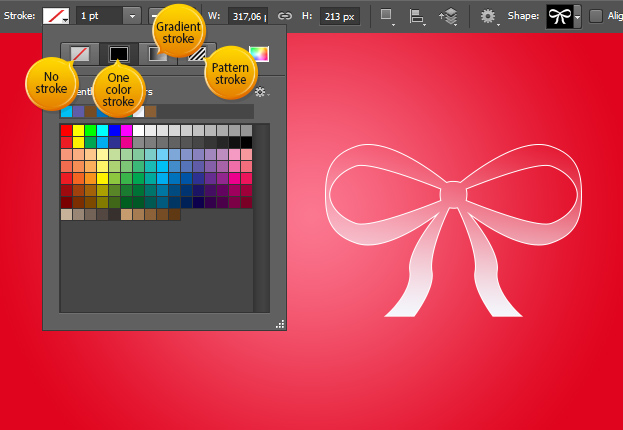
03. But that is not all! Now you can also add the same easy way a stroke around your shape. And like with fill, you have different stroke options – no stroke at all, one-color stroke, gradient stroke or even pattern stroke. All just one click away!
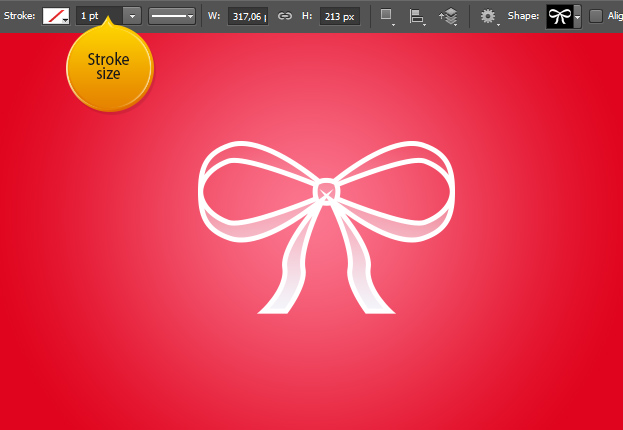
04. To change the stroke size, just enter a number and hit Enter button.
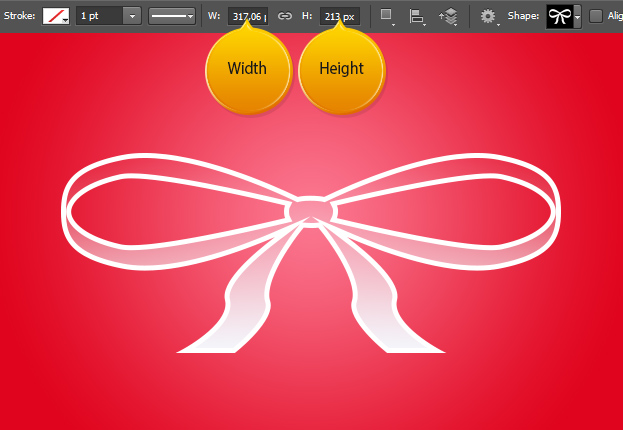
05. You can also change the width and height of your shape easily by just inserting the number.
And that is all you need to know about the new Vector Layer Shape Options in Photoshop CS6


