How to Create and Manage a Master Document and Subdocuments in Word 2013
One of the most useful features that Word has to offer in terms staying organized is the ability to create Master Documents and Subdocuments. A Master Document is just like any other Word document but it contains links to other documents, which are known as Subdocuments. The biggest benefit of using Master Documents and Subdocuments in Word 2013 is that you can combine the advantages of working on a single document with those of working on multiple documents. In this tutorial, we will teach you how to create and manage a Master Document and Subdocuments in Word 2013.
Step 1: Launch Word 2013
Step 2: Create a New Document
Step 3: Click on the View tab
![]()
Step 4: In the Views section, click Outline

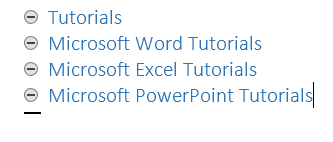
Step 5: Enter headings for the document title as well as for each subdocument. Remember to press enter after typing each heading

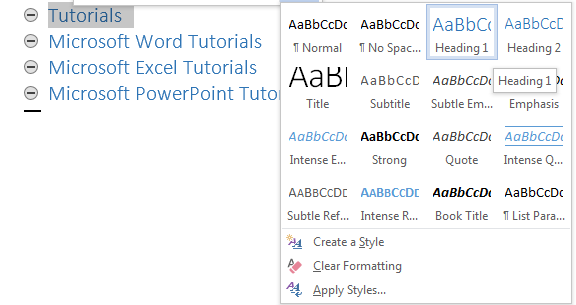
Step 6: Assign a heading style to each of the headings. In this case, we’ll assign Heading 1 to the document title and Heading 2 to each of the subdocument headings. To do so, we will highlight each heading individually, click on Style in the formatting bar that appears, and then choose the heading style

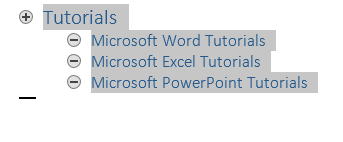
Step 7: Highlight all the headings

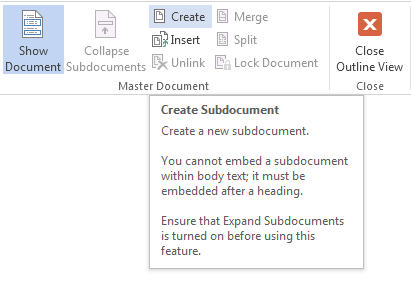
Step 8: Click on the Outlining tab and click on Create under the Master Document section. Word will insert a continuous section break after each subdocument

