How to Create a Glossary in Word 2013
Although Word 2013 does not have an automatic tool to create a glossary in a document, there are a number of different techniques one can use to create a glossary in Word 2013. If you want to learn how to create a glossary in Word 2013 for a large file that might later be heavily edited, it is best that you use the Table of Authorities functionality. Even though this feature is not meant to create glossaries, if used in a specific way, it can fulfil the purpose quite efficiently. This step-by-step tutorial will guide you as to how to create a glossary in Word 2013.
Step 1: Launch Word 2013
Step 2: Open a document in which you wish to create a glossary
Step 3: Mark an acronym which you wish to include in the glossary

Step 4: Click on the References tab
![]()
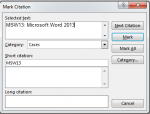
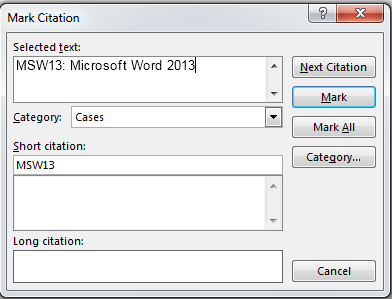
Step 5: Click on Mark Citation in the Table of Authorities section

Step 6: Enter the definition or the term you want to include in your glossary next to the acronym in the Selected Text section after the acronym itself, as shown below. Click on Mark when done. Repeat this process for all the acronyms you wish to add in your glossary.
Step 7: Move your cursor to where you wish to insert the glossary and press ctrl+F9. Type TOA \c “1” \p in the brackets that appear. Press F9 and the glossary will appear in your document.